
Hi!
I want to put the Witty Pi 4 L3Hi!V7 with a battery (for UPS function) on my raspberry pi 4 (8GB RAM).
My setup consists of :
Raspberry Pi 4 (8GB RAM)
A heat sink that is stuck to the raspberry pi 4 CPU. I had the raspberry pi 4 in a aluminium FLIRC case before which worked really well with the heat sink but the Witty doesn’t fit in that case, hence I bought the bigger case which is now plastic (see case details below, I couldn’t find an aluminium case but enough to fit the pi and the Witty) and I just left the heatsink stuck on the Pi CPU (please let me know if you think it’s better to take off the heat sink).
A 32 GB micro SD card for the raspberry pi 4
The Witty Pi4:
https://core-electronics.com.au/witty-pi-4-l3v7-rtc-power-management-for-raspberry-pi.html
This battery for the Witty:
https://core-electronics.com.au/polymer-lithium-ion-battery-2400mah.html
This larger case to make sure the pi, the Witty and the battery all fit in:
https://core-electronics.com.au/pi-hut-modular-raspberry-pi-4-case-black.html
2 of these spacers to make the case high enough (one spacer isn’t enough):
https://core-electronics.com.au/modmypi-modular-rpi-2-case-10mm-spacer-black.html
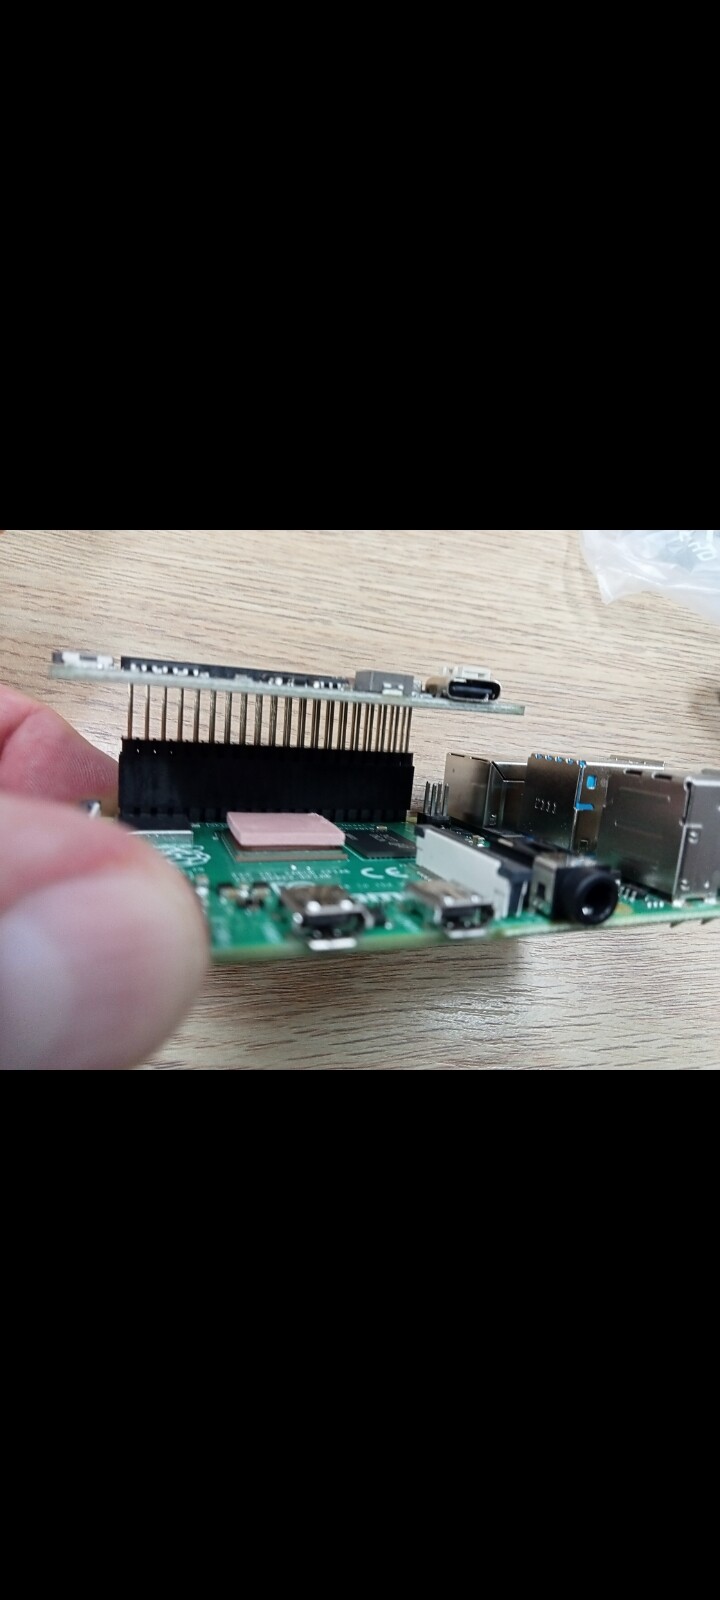
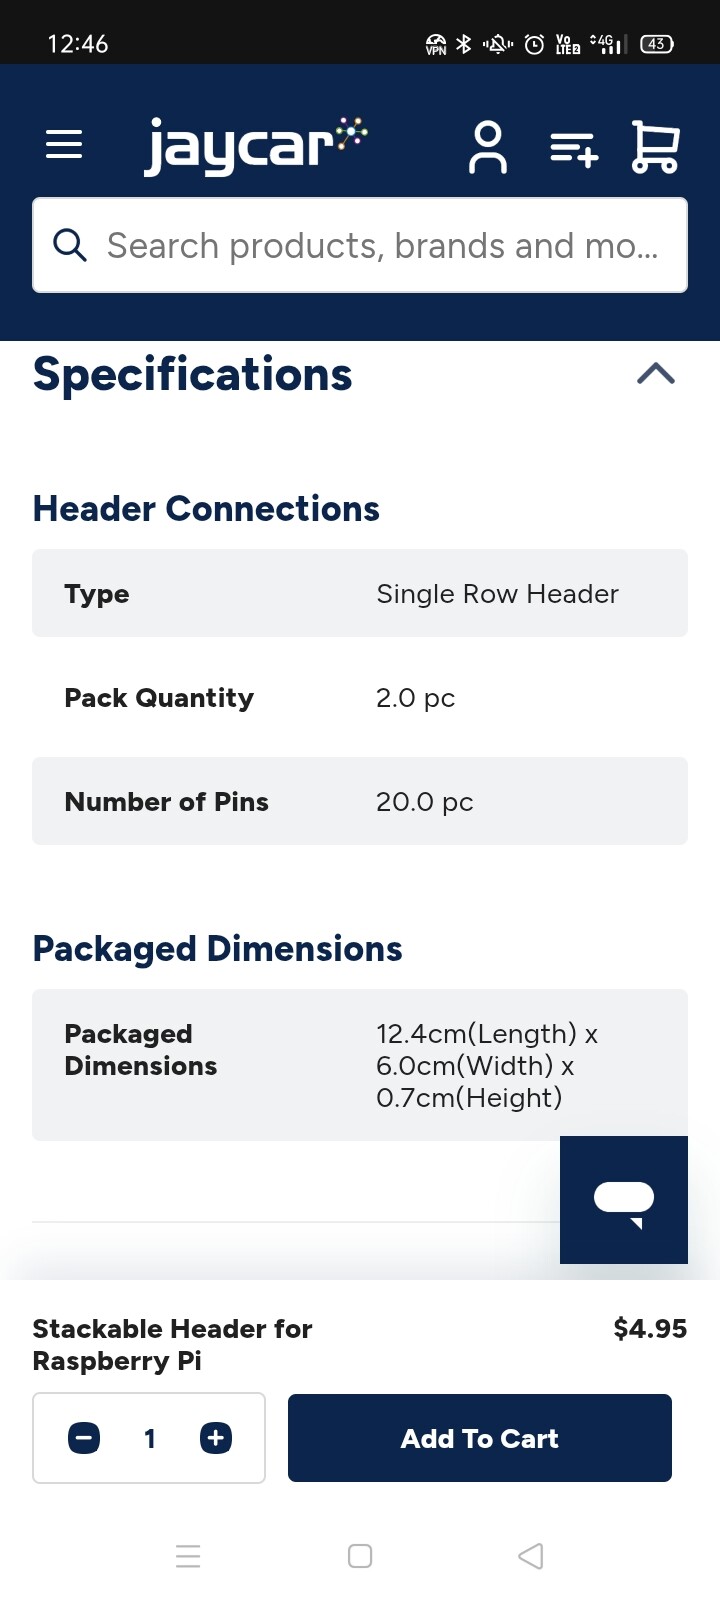
This header from Jaycar so that the Witty fits on the Pi:
https://www.jaycar.com.au/stackable-header-for-raspberry-pi/p/HM3228
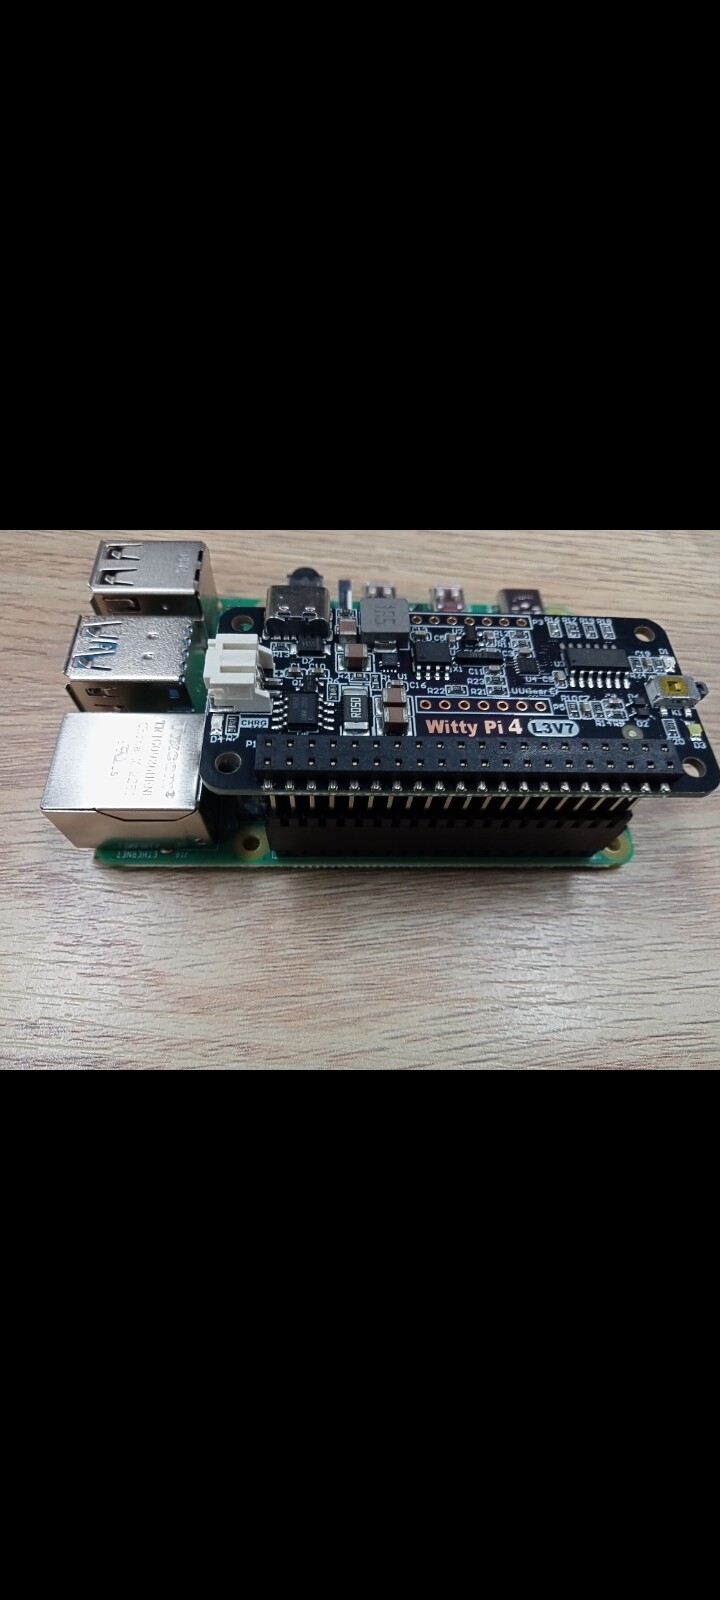
The header fits, it is just quite high which is I think a good thing because it provides more space for air circulation around the raspberry Pi CPU because the high header means that the Witty UPS and it’s battery sit up higher, giving a bit more breathing space for the Pi CPU.
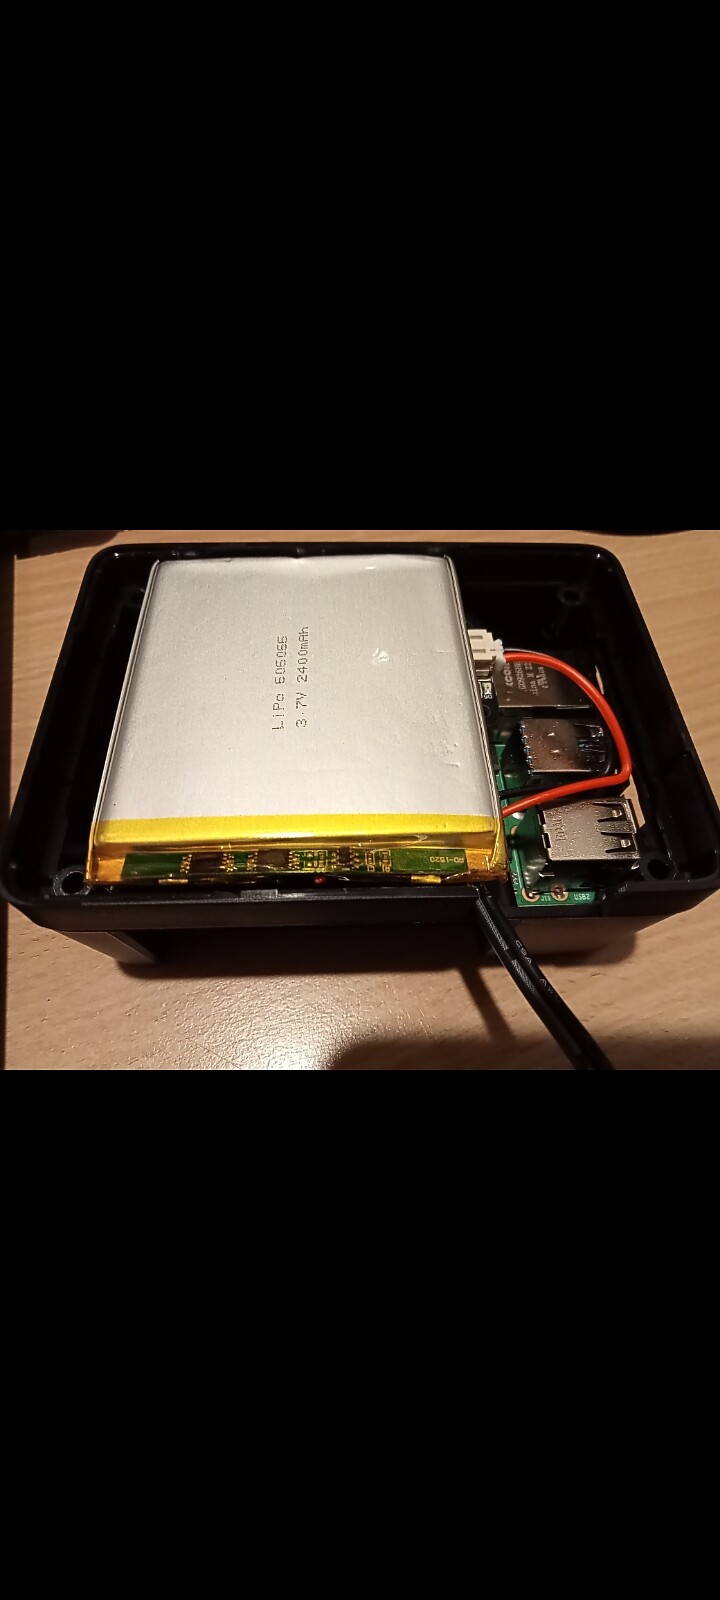
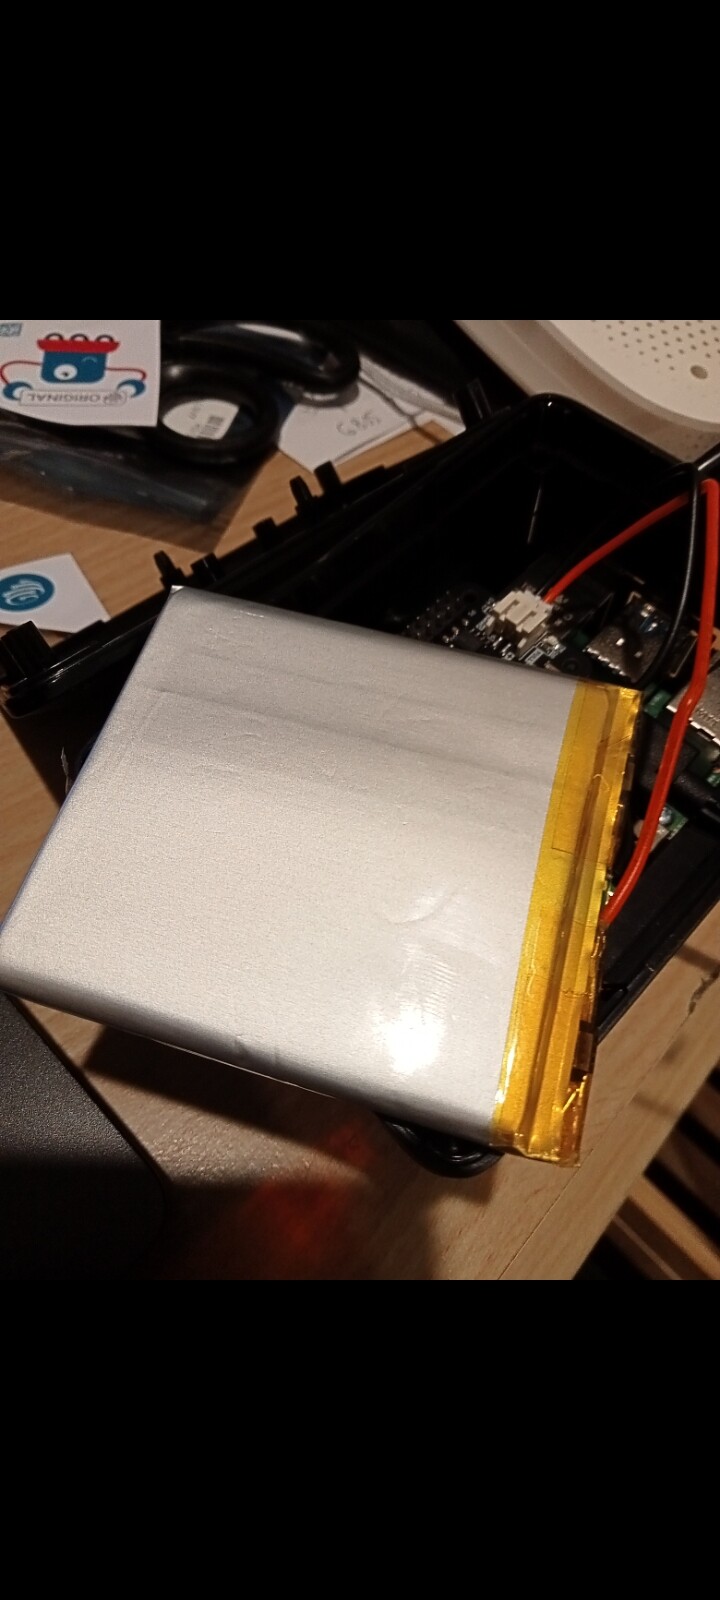
I wanted to check if people here think this setup (as shown in the photos) with this header is fine.
That was my first question.
My other question is in regards to how to connect the power supply to the Raspberry Pi 4 once the UPS is connected to the battery.
The Witty didn’t come with a manual and when I went to the website of the QR code which was on the witty packaging, it also didn’t show clearly how to connect the power. I’m just unsure because the Witty has its own USB C port.
I found a detailed manual for the Witty online here(but unsure if this is the correct manual for that Witty model):
https://cdn-shop.adafruit.com/product-files/5705/WittyPi4L3V7_UserManual.pdf
In the section explaining the setup for all raspberry pi models except the model zero it says on page 11 (see where arrow points in screenshot) this manual states in bold and red writing :
“Please do not connect power supply to the Raspberry Pi directly because Witty Pi will power your Raspberry Pi via the GPIO header and that is how it performs the Power Management.”
However, this doesn’t make sense to me because this would mean I would have to bring the USB C cable from the power adaptor INSIDE the Raspberry Pi case and there is no opening big enough.
So my 2 questions are basically:
1. Is my current setup for the Witty with the header shown in the photos correct?
2. Can someone provide the link to the correct Witty Pi 4 L3V7 setup manual or tell me if I need to connect the power supply to the raspberry pi 4 OR to the Witty Pi 4 L3V7?
Thank you very much for all your efforts and help, it is really much appreciated! ![]()