That does seem to have been the problem! I wrote a shell script with an infinite loop to exit from the python object recognition code when a bird is detected, take a series of hi res photos using raspistill in burst mode and save them to a usb drive, kill raspicam to release the camera, and restart the python code again. I’m running the rpi/camera on a tripod with a rechargeable power pack and can track what is happening remotely using ssh with some ‘what am I doing’ information outputs echoed to the console inserted in the shell script loop and in the python code. Its working great. Takes a little time to do the python exit and restart etc but a few seconds here and there is not a problem in this long ‘bird watching’ game. I’m very impressed with the RPi HQ camera photo quality.
Absolutely brilliant mate, I dig this approach! You get the best of both worlds; a fast enough, low-pixel, bird identifying AI system in combination with a high-pixel, beautiful HQ camera. All remotely controlled…this is awesome!
Thanks for keeping the posts as you problem solved your way to here, it is very interesting to me how the camera provides access to certain python commands and only works with a single master. It is also very useful for everyone to see a train of thought producing a successful solution to a problem. Often its all about figuring out what the right question is to ask yourself.
Cannot wait to see some of the first successful birdy snaps ![]() hope you do a write up too
hope you do a write up too
Im trying to get opencv installed on a raspberry pi 4 4gb but when im under Setting up Open CV for Object Detection, the packages abort while installing. I’m very new to this - Does anyone have any advice/insight as to what I might be doing wrong?

D
Hey mate,
I’ve had systems that have done that something to me, seemingly doing the opposite of what I asked. Without going too deep into what’s causing it the solution my fix was by typing and entering this | sudo apt-get upgrade |.
If that doesn’t work and you need a workaround you can pass | -y | to | apt-get | to skip that ‘do you really want to do this thing press y to continue n for no’ prompt. Do so by typing and entering the following into a new terminal | sudo apt-get -y upgrade |.
Hope this fixes that for you mate ![]()
Thanks Tim. I really appreciate the help. Along with a fresh install of the OS I seemed to get everything installed. I’m now running into an error when trying to run the code from object-ident.
[ WARN:0] global /home/pi/opencv-4.4.0/modules/videoio/src/cap_v4l.cpp (1004) tryIoctl VIDEOIO(V4L2:/dev/video0): select() timeout.
Traceback (most recent call last):
  File "/home/pi/Desktop/Object_Detection_Files/object-ident.py", line 50, in <module>
    result, objectInfo = getObjects(img,0.45,0.2)
  File "/home/pi/Desktop/Object_Detection_Files/object-ident.py", line 21, in getObjects
    classIds, confs, bbox = net.detect(img,confThreshold=thres,nmsThreshold=nms)
cv2.error: OpenCV(4.4.0) /home/pi/opencv-4.4.0/modules/imgproc/src/resize.cpp:3929: error: (-215:Assertion failed) !ssize.empty() in function 'resize'
I see that someone else ran into this problem as well but I haven’t been able to figure out a solution. Have you come across this problem? Thanks again!
I didn’t look diligently enough through the comments yesterday. I see that another user was encountering the same error - likely due to the OS installed. I reinstalled the OS tonight to make sure I had the correct one installed and I am still receiving this error.
Does it procedure work for pi B3+ model???
Does this procedure work for pi B3+ model???
Hi Iswarya,
While it can run it will it’s going to be slower than running on a Pi 4 or PC(I haven’t done any tests but would be interested to see how you go!)
Hey mate.
Could you send through a screenshot of your error? A little bit of teamwork and we’ll get your system up and running exactly as it should ![]() .
.
Also for me make sure that you can get a live feed out of the camera by typing and entering the below directly into your terminal.
raspistill -t 0
I’ve been playing with this all for a few weeks now but I can’t get rid of my 2 second video delay.
Using a Raspberry Pi 4, 4GB and an official Pi V2 camera everything runs fine but that lag kills my project.
I checked my Pi’s memory in the terminal just in case I was ripped off or had a misprint, but I can confirm 4GBs. So I made the video output Grayscale, but that didn’t improve anything. I then overclocked the Pi to 2GHz, the GPU to 600GHz and over volted to 4 volts and threw on a heat sink with a fan to compensate. But none of this budged my delay. The FPS may have improved a bit, I’m not sure. But the initial delay is always the same.
When I started removing code to see what bit was causing this, I found that its the line under the “def getObjects”, but of course that line does a lot of heavy lifting so that makes some sense.
I’m just lost as to why no one else seems to be having this issue. And its odd to me that I can improve frame rate but that 2 second lag is always there. It’s almost like it’s not a performance issue but something else maintaining that delay.
I’m basically out of ideas here.
Hi Tim
Finally a few real world early snaps after getting the “camera” all field-ready, running headless on a battery pack etc. Focussing the camera was an early hurdle as I found it too hard to guarantee focus with old eyes and just a wee 2.8” LCD screen. The depth of field on the 35mm lens (equivalent to ~160mm on a full size camera) I am using is quite narrow. I found using RPi-cam-web-interface (https://github.com/silvanmelchior/RPi_Cam_Web_Interface), which I already had installed, works really well as I can focus the camera using my much bigger iPad screen via the web interface. I can then go inside and do a double-check by downloading and looking at a full (5k) hi-res still image on my Mac, again using RPi-cam-web-interface. If its ok I can then shutdown the RPi-cam-web-interface using ssh and startup my birdcam setup with a shell script that shuttles to and from a customised version of your python object detection code. I have now also sorted out the scp commands to transfer the image files off the rpi to my Mac. Storing the images on the SD card gives a much faster (about 3x faster) raspistill image burst rate than saving to a usb drive so less opportunities lost. You quickly see that bird movements are often very quick, even when not flying, and sometimes their appearances at any one spot are fleeting.
I’m pretty pleased with the results so far. The quality of the HQ camera seems amazing to me although I’m no camera aficionado. I’m now waiting to see if sports mode on the camera improves some of the images. The weather hasn’t been conducive to leaving my RPi camera outdoors the last few days. I don’t think it would appreciate a wash.


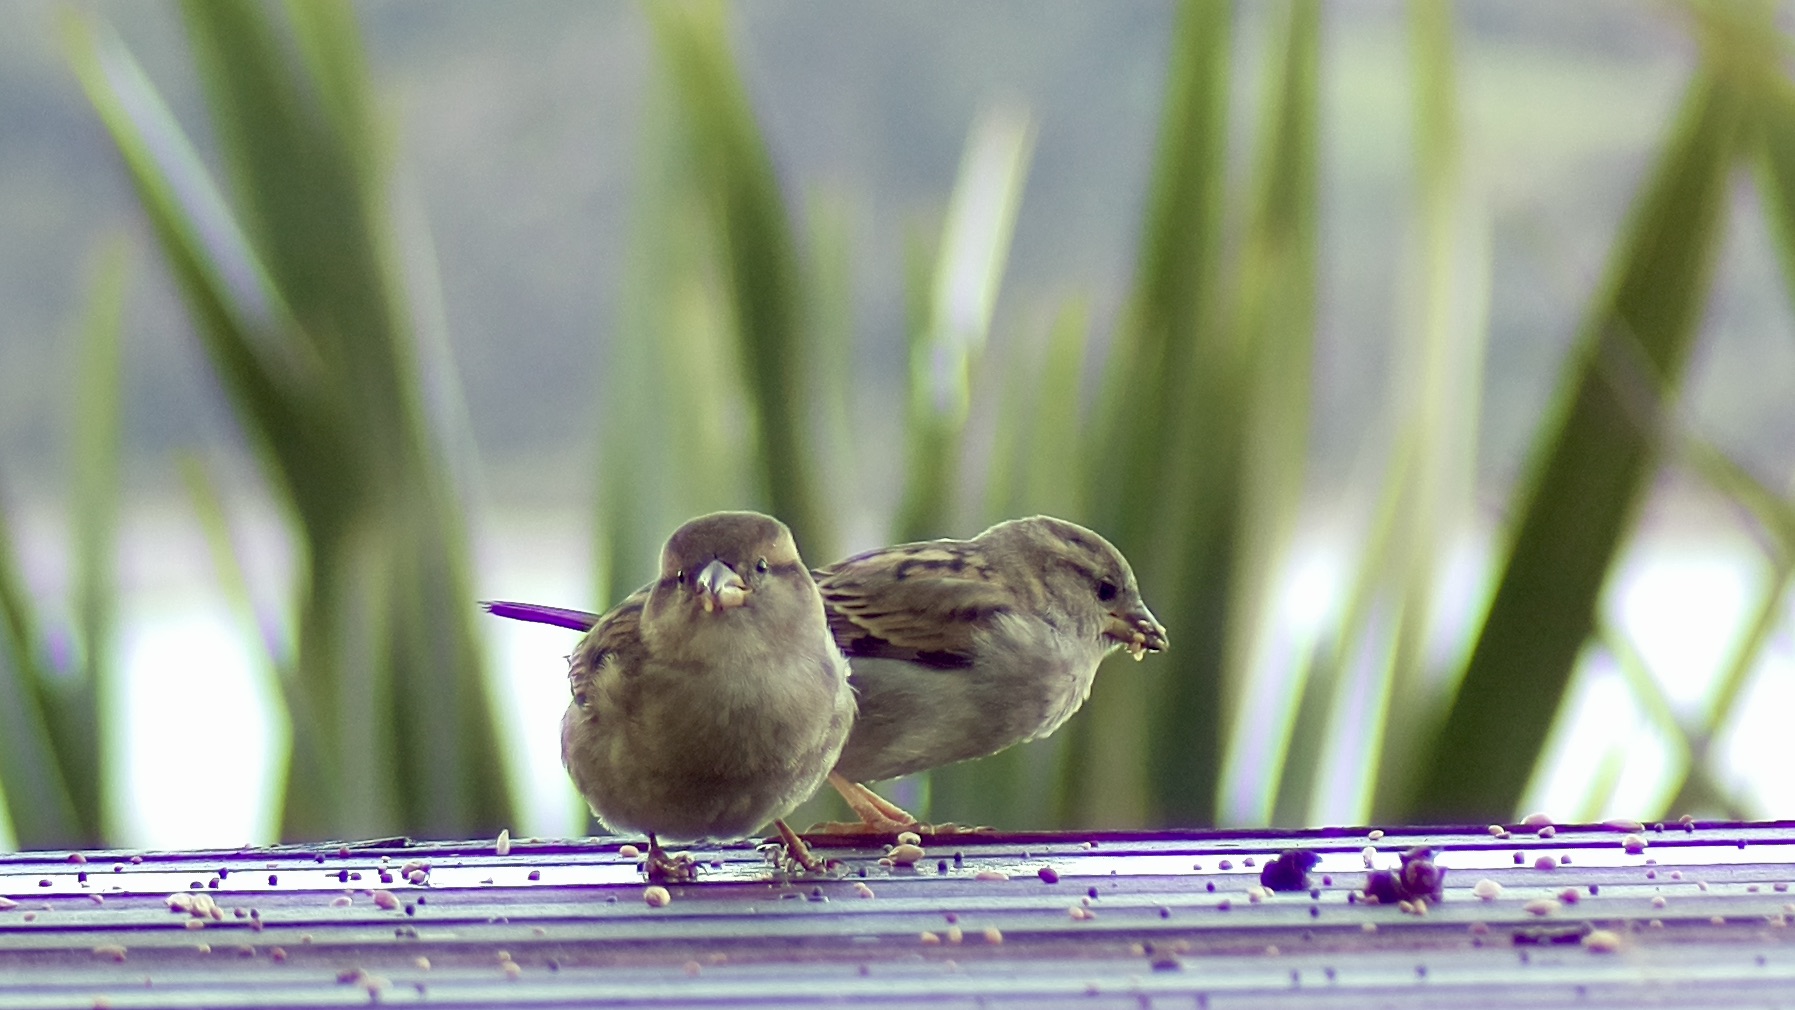


Hey Roger and Huge Wow! Look at those birdy beauties! Absolutely awesome mate ![]() and that camera interface looks very useful as well. Plus with the data juggling to get it quickly into your main computer call me incredibly impressed, I love what you have created. Thank you kindly for showing, you’re keeping me highly motivated.
and that camera interface looks very useful as well. Plus with the data juggling to get it quickly into your main computer call me incredibly impressed, I love what you have created. Thank you kindly for showing, you’re keeping me highly motivated.
Need to 3D print you a waterproof enclosure for the electronics and HQ Camera so you can run it 24/7.
Heyya mate. Bummed that you have such a long delay. It could it be the camera module you are using/the cable your connecting it to. Start off by double-checking the ribbon cable between your Rasberry Pi and the Camera.
If that ribbon has been connected securely and the right way, type the following into your Raspberry Pi terminal. As soon as you enter this it should create a window with a live preview of what the camera is seeing.
raspistill -t 0
If that runs with a delay then we know it is the camera module that is causing the slowdown.
If that doesn’t do anything try using a lower resolution, adjustable inside code. That way the total data that is trying to be analysed is lower thus it will run quicker. Hope these preliminary ideas help!
When I removed the detection part of the code, the video displays real time just fine so its not a connection problem. I was already running at stock resolution which is pretty small as is. I can’t see this being useful at a smaller resolution unfortunately. Would be like a smart PIR sensor at that point.
I bought a mini PC (Elitedesk 800 G3) for my project since they are sadly cheaper than Pi 4s right now and I clearly could use the power. But I was just wondering if there was something obvious I was missing since everyone seems to run this just fine. Also going to take another deep dive to figure out how to get serial info out of a PC to drive an Arduino for the I/O. But that’s life and a good excuse to learn more I guess.
Would love to have another Pi 4 to sanity check myself and see if my delay issues have something to do with my particular Pi but this chip shortage… Oh well, thanks anyways.
Hi how and where can I fix the fps of this tutorial? I have a 2-4 seconds delay. Thanks

Hey mate, my system was around a half a second delay using a Raspberry Pi 4 Model B, what gear are you utilising?
I am using the same Raspberry Pi 4 Model B
Could be thermally throttling, do you notice it getting hot when it is running the script? Have you got any passive or active cooling on your Pi? I also used a 4GB version of Raspberry Pi, which could be a factor. What camera are you using as well, does it connect straight into the CSI connector? And is that CSI connector firmly connected and undamaged?
Its neither i think it’s normal and I used a version 2 Camera directly connected to CSI. Is it not possible to fix it through code?