Thanks for responding, swap size was changed to 2048.I removed the downloaded zip files and unziped opencv files and then started the entire process from beginning. It worked this time. Don’t know why it didn’t work with exact same code earlier. Now installation is complete.
2 Likes
Thanks Tim, for all your help.
Interesting way of thinking about how to limit it down to one box. Instead of, “draw less boxes” its more of a “If one box is drawn, stop drawing”.
I’ll put out a video of my device when I’m all done with it for sure. I like your little community here and would love to share with everyone. Excited to see what you do with the site. When I saw the code go down, I started assuming you were doing some behind the scenes work. Keep up the good work man! Such a great resource for the Maker community.
2 Likes

I got this error while running object-ident.py on raspberry pi 4 terminal. Raspberry pi is connected via ssh. Is there any solution?
2 Likes
Hey mate,
Because it says | Connection refused | run that | python object-ident.py | using sudo so that it looks like | sudo python object-ident.py | and then I reckon you’ll be smooth sailing.
2 Likes
Hi All,
The attachments for this tutorial are available as a download by clicking on this link.
@RogueMike @Mark197030 @Robert197288 Check out the link above to download the .zip! I hope this helps with your projects ![]()
Liam
1 Like

Hi,
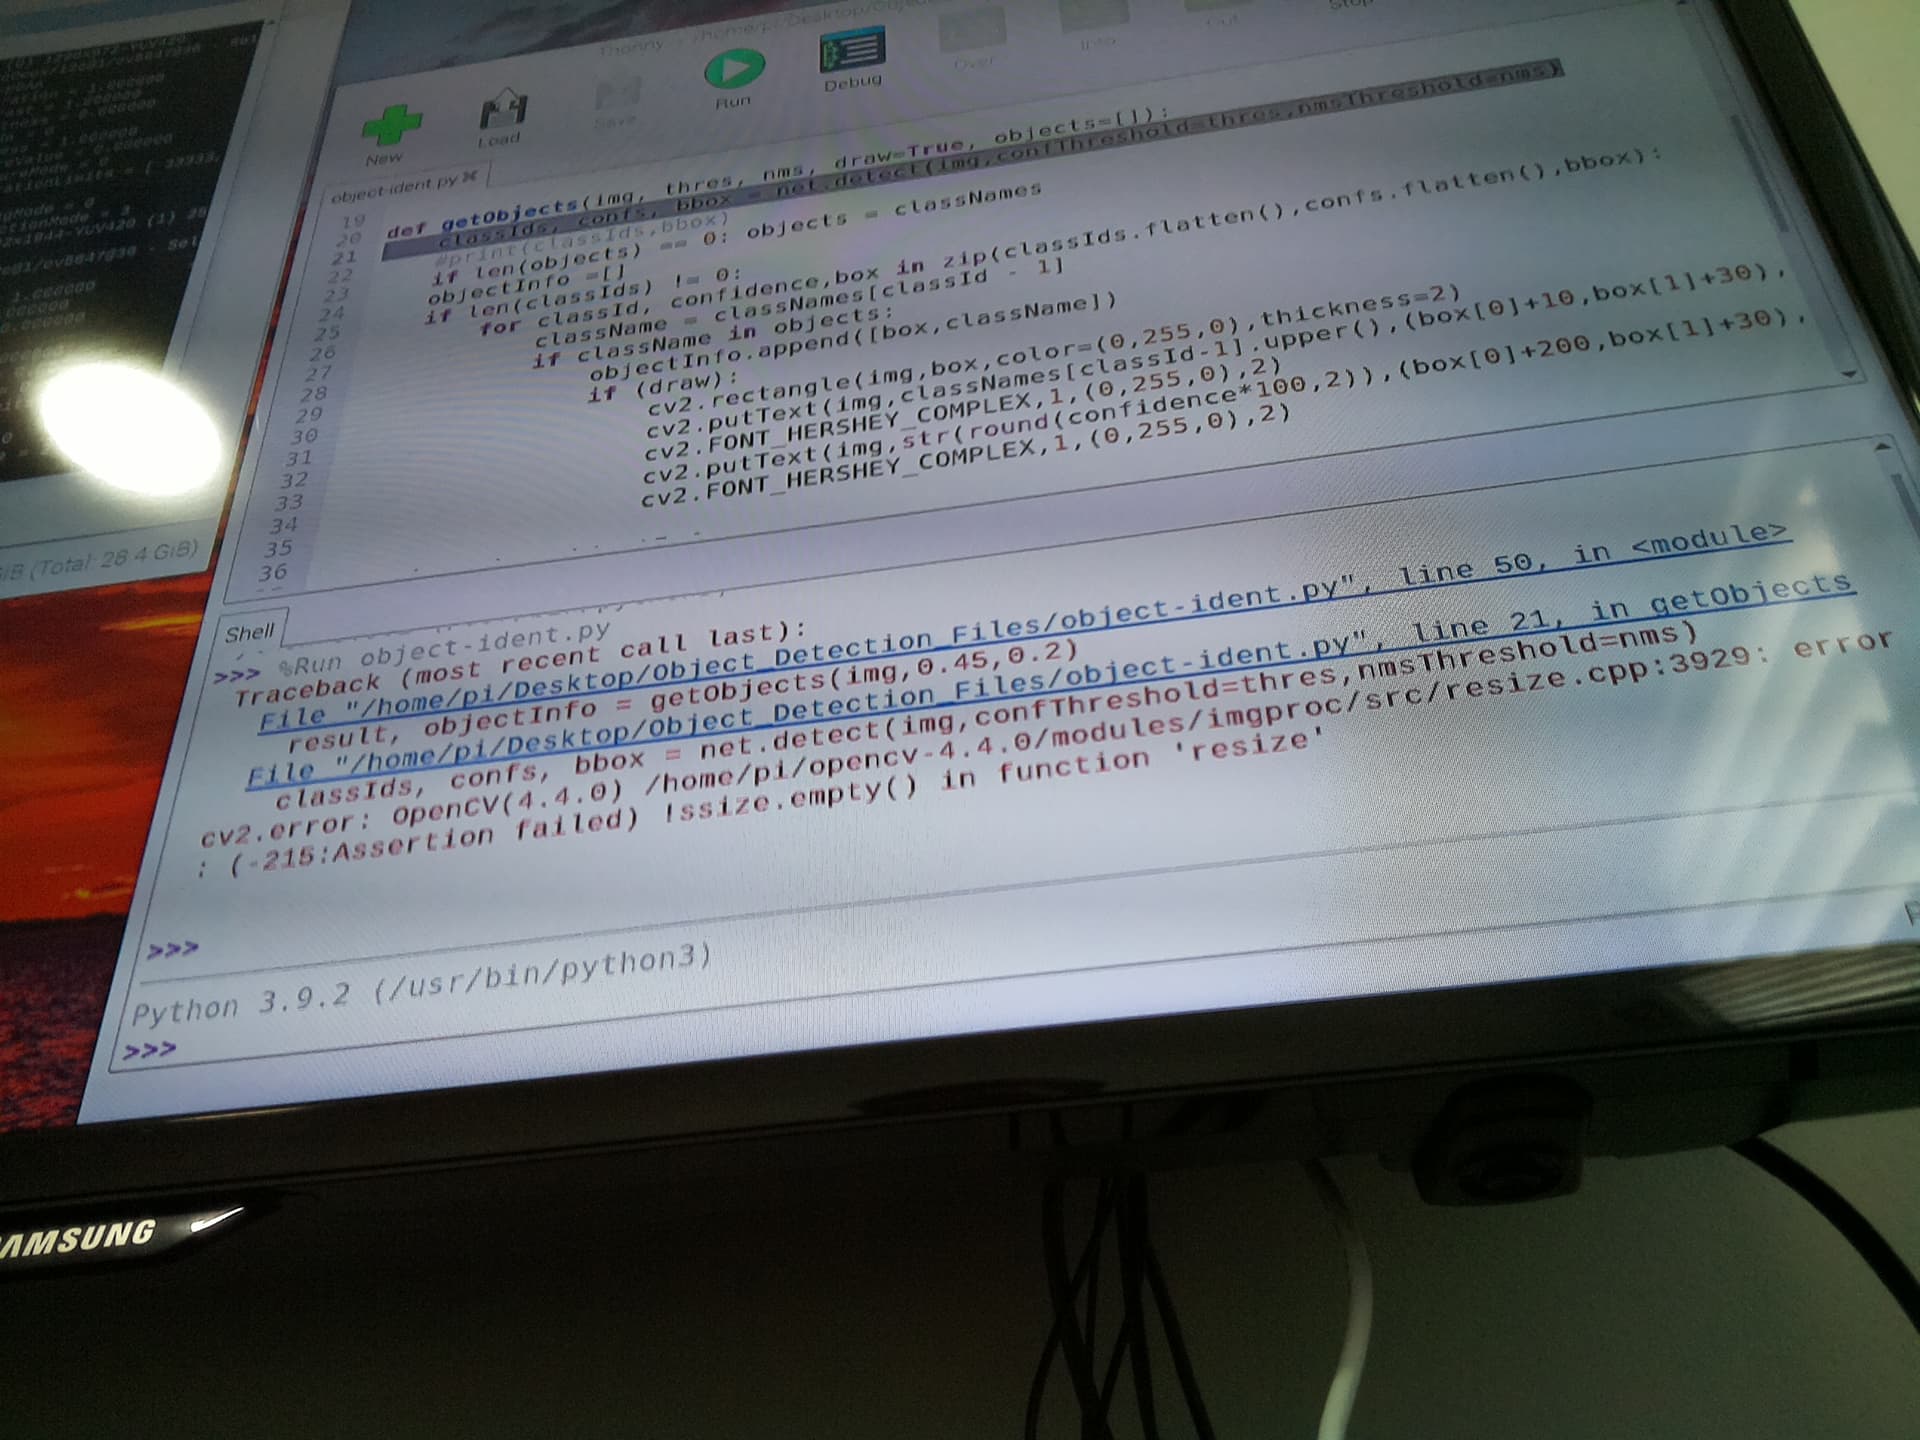
I have completed the install no worries, however get the following error when I run the object-ident.py script:
Any help you can offer would be appreciated.
Cheers
1 Like
I’m far from great at this Simon, reading the errors, it appears both have to do with your “object-ident.py” file.
Do you have “Object_Detection_Files” unzipped on your Pi desktop? If so, is “object_ident.py” inside of that file?
Basically our code, (if copied form this site / video) is looking for “object_ident.py” and we told it to look on our desktop, in the folder “Object_Detection_Files”. So everythings location has to match the address we told our code.
That would be my first guess, assuming you didn’t change the code or anything in the files being used.
I’m not as good of help as Tim or anyone else at Core Electronics but this might help ya out in the mean time. Good luck!
2 Likes
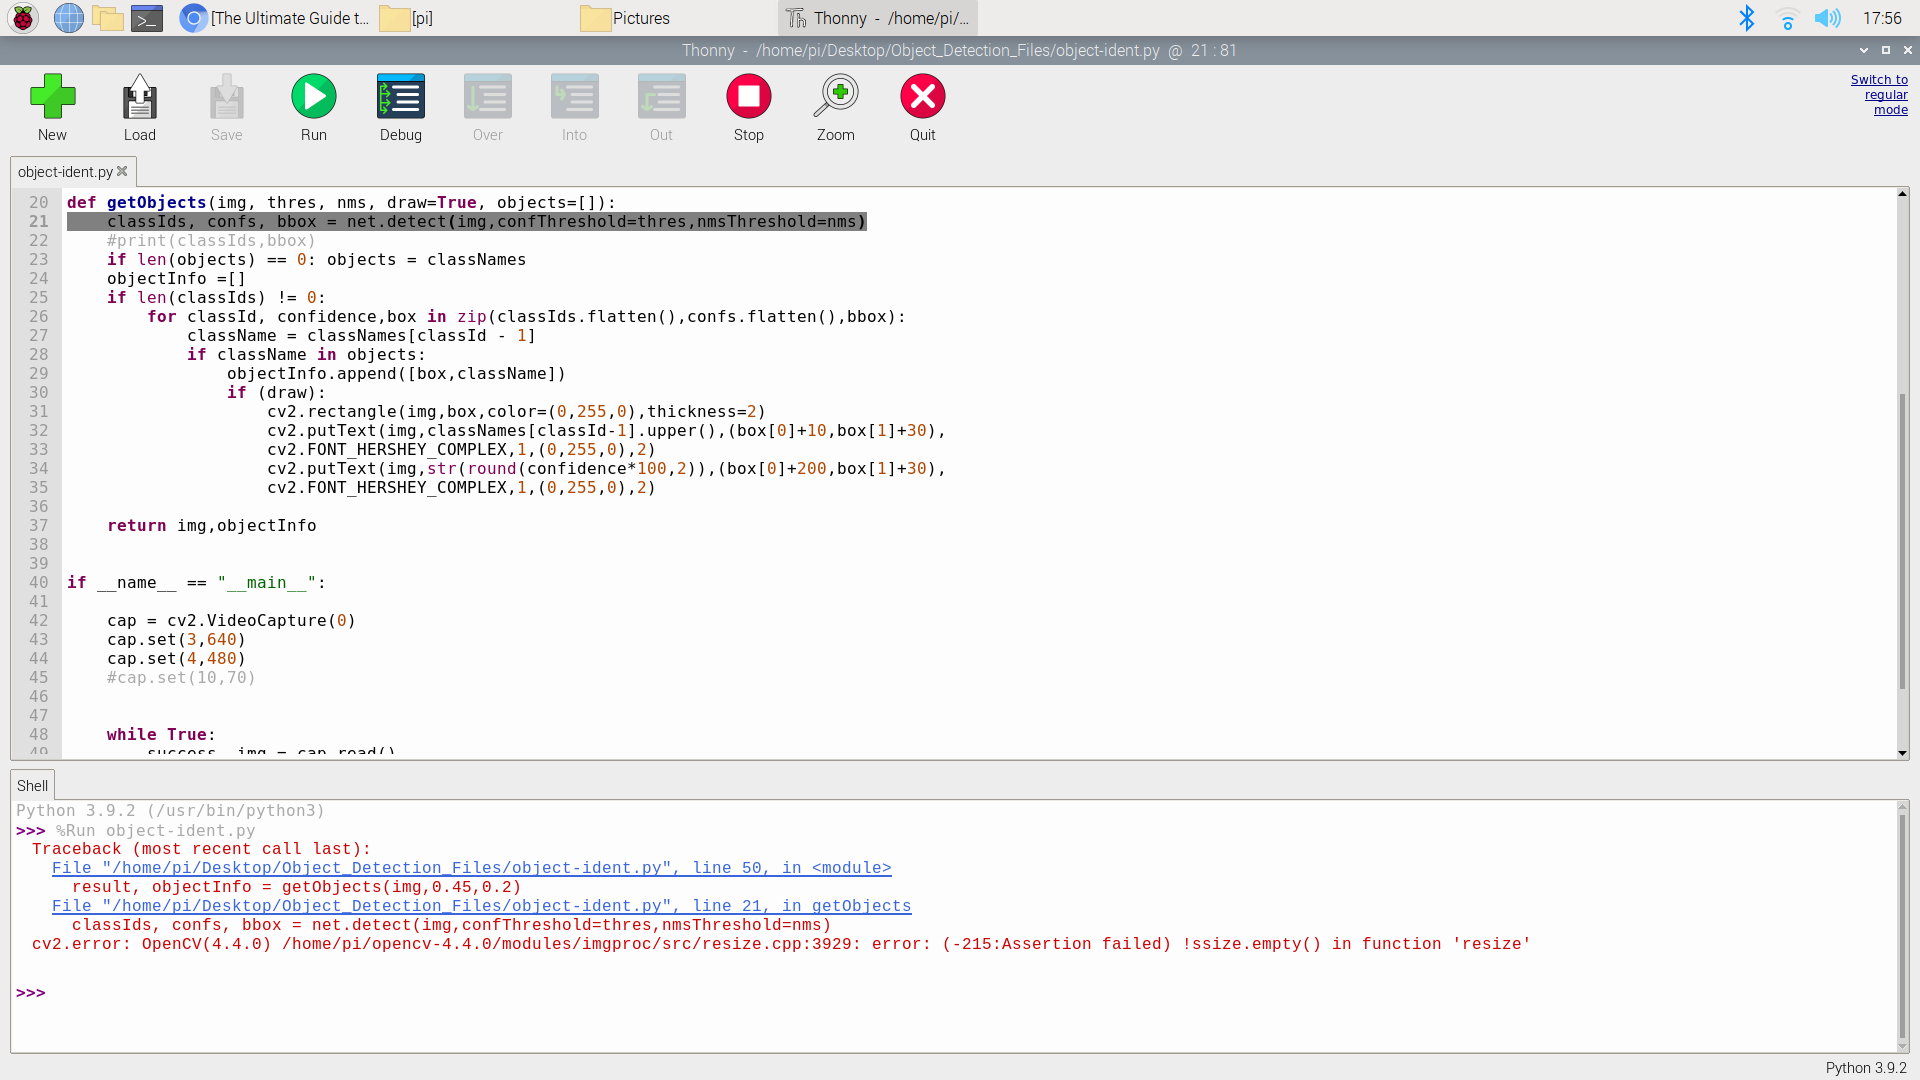
Hi Mike. Thanks for the quick reply! I can confirm that Object_Detection_Files is unzipped on the desktop and code in the object_ident.py script has not been changed. I get the same result with the object_ident-2.py and -3 scripts also. From my basic debugging, it looks to be an OpenCV error with the resize.cpp file - see the following error message at the bottom:
error: (-215:Assertion failed) !ssize.empty() in function ‘resize’
My guess is the ‘resize’ function in OpenCV is expecting a file but is getting null? Possible camera module related? I’ll keep playing around but any additional support would be appreciated.
thanks!
2 Likes
There is no code zip file at the bottom. Will you please upload it so that I can learn.
2 Likes
@Liam uploaded the zip a few comments above, I hope this helps! Object and Animal Recognition With Raspberry Pi and OpenCV - #90 by Liam
2 Likes
Again, not to great with this but… After Googling “ssize.empty() in function 'resize” a bit I found someone have some luck changing the capture size. If you’re not using a Pi cam this “could” be your issue. You could try making it a bit smaller or flipping them on line 43 and 44.
If that doesn’t work I would try digging through Google with your error and see what matches.
Are you using a Pi cam and did you enable it under the Pis settings and restarting?
1 Like
Hi Tim. Thanks for this great project. Much appreciated. I got it up and running following your instructions without any hiccups. I have this working with an HQ camera and 35mm lens, detecting when birds visit our bird bath and triggering the writing of an image out to disk. I commented out the lines which display the rectangle, probability and object id so I could get a clean photo, and inserted a cv2.imwrite instruction after these. However I would really like to be able to capture higher resolution images than the 1920x1080 maximum on the video image capture frame to get the best possible images available from the HQ camera. I presume this would have to occur outside the opencv code but I don’t know if the camera can respond to two masters at the same time? Is there any way I could do this?
1 Like
Hey Roger,
Excellent job getting it all set up ![]() sounds like an excellent project worthy of a Project Write Up!.
sounds like an excellent project worthy of a Project Write Up!.
I reckon all can be achieved using an | If | statement. So that whenever a bird is detected in the main loop you then tell the system to stop everything and take a full HD photo of that moment. I’ve talked about how to take pictures and videos with your specific set up using Raspberry Pi ‘Buster’ OS in this linked guide. The gist is we want to type and enter in a terminal window the command | raspistill -o image.jpg |.
You can run terminal commands directly through python code if you start by adding | import os | at the begining of the script. Then for example if you add a line like | os.system(“raspistill -o image.jpg”) | that will take a High-quality image each time you run your python script (keep in mind, each time you re-run the script it will overwrite the image.jpg file with the new image)
Hopefully that is all you need to nail your project ![]() ! I’d love to see it one day in the project page
! I’d love to see it one day in the project page
1 Like
Hey Simon,
Most important for these Open-CV Machine learning systems to work at this stage is that you are running the Older Raspberry Pi OS Version ‘Buster’. I can tell by the background image that you are using the newer Raspberry Pi OS Version ‘Bullseye’. No doubt currently the Open-CV people are furiously working on making all the packages compatable with the newer ‘Bullseye’ OS but it is not quite compatable yet.
Use this guide to correctly install Raspberry Pi ‘Buster’ OS, carefully run through all the set-up in this article and your system should be fully operational ![]()
Hope this helps!
1 Like
Thank you Tim! I’ll get stuck into those leads and see if I can get it working. I’m already importing os.system to redirect my images to a USB drive so one step down that track. We’ve got a couple of sheep on our place and hilariously to date the code consistently identifies them as “person” although once as “bird” and never as “sheep” even though sheep is in coco.names?? It does seem pretty good with real birds though and I am now limiting the objects to just bird, again using your guide.
2 Likes
Hey Tim,
Thanks for the tip! I’ll reinstall the older OS later this week and see how it goes.
Cheers
2 Likes
Hi Tim,
Further to efforts to take a hi res photo when object recognition detects a bird, I have imported os and subprocess but using
os.system(‘raspistill -o bird.jpg’)
or
call = “raspistill -o bird.jpg” with subprocess.call(cmd, shell=True) when if len(objectInfo) != 0:
I get a failure error with both methods as below:
mmal: mmal_vc_component_enable: failed to enable component: ENOSPC
mmal: camera component couldn’t be enabled
mmal: main: Failed to create camera component
mmal: Failed to run camera app. Please check for firmware updates
The camera has been working fine in all other settings. I am using ‘Buster’. Other os commands eg os.chdir work fine.
Any suggestions to remedy this would be welcomed.
3 Likes
PS: From what I’ve read I suspect the problem may relate to two separate processes (opencv and raspistill) trying to hold access to the camera at the same time? I understand the camera does not like answering to two masters simultaneously. Perhaps I have to shut down object detection, take a photo burst, and restart object detection to get it to work? The calls to raspistill both work fine from python outside of the object detection script.
2 Likes