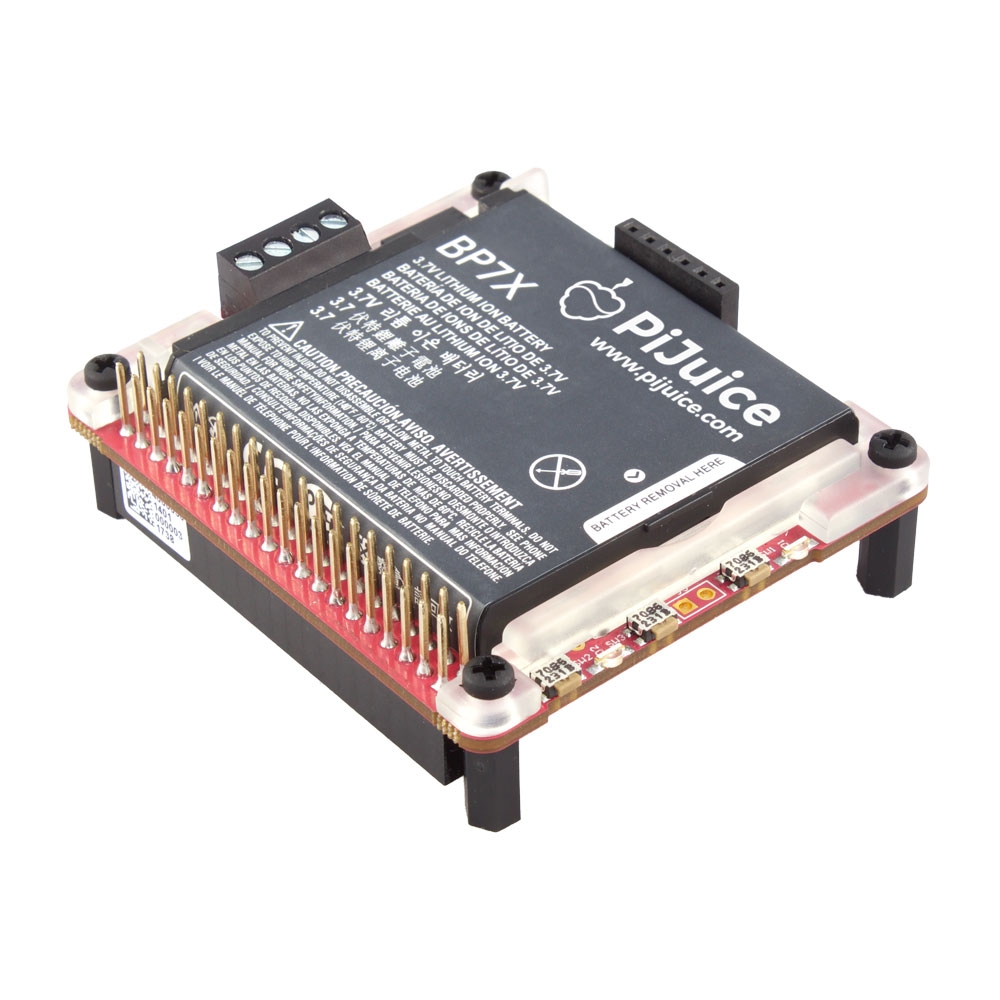
As one of the smallest systems around there are so many amazing things you could do with the Raspberry Pi if it was self-powered and portable. Introducing PiJuice! A fully uninterruptible power supply that will always keep your Raspberry Pi powered.
Will the pi juice hat work for pi4? My understanding is that pi4 requires 3.0A power but pi juice can only provide max 2.5A.
I am thinking of getting a pi juice hat for my pi4 with a fan, usb mouse, keyboard and some gpio pins attached. Will this work? Does anyone try this before?
Hi, I am looking to buy the pijuice hat, I have many solar panels and I want to know the specifications for adding a solar panel without damaging anything. Thanks
No worries, if you’re running a project with the PiJuice HAT as long as you’re providing the appropriate voltage over the USB-C port or GPIO then you should be good to go. It’s worth noting that most of the charge controllers that you can buy perform both these functions at the same time, so you don’t need to use the PiJuice HAT at all, as they would have their own LiPo charging and the appropriate output included such as that which I’ve linked below. (They’ll also have the rating of solar panel that you need listed) Note that the Pi 4 requires 3A, you should be able to run some of the older Pi’s with this, but you’ll want to step up to a larger breakout if you’re running a Pi 4 or similar as this maxes out at 1A.
This arrived today and was installed on a Pi 3B+. Software installed and its now up and running nicely.
Noticed the Battery setting was PJZERO_1000.
Remembered a post where, apparently the DIP switches are not set to the default.
Changed the switches the default setting as per the Git Hub guide and the Battery is now a BP7X_1820; the one that came with the device.
First charge cycle:
With the Pi powered up the charge light kept flashing; the Icon and application said 98%.
Used SW1 to power down the Pi and then again to turn off power.
The charge light flashed for another 2 minutes or so then stayed on, indicating full charge
Used SW1 to turn the Pi back on and the flashing started again and the Icon said 97%.
This time when it was powered off the light went on almost straight away, no flashing.
All of this indicates to me the Pi Juice is performing perfectly.
Now to run it just on battery and time how long till lasts.
Also bought a 6000mAH LiPO for the Pi Juice, intend to use this as the 1820mAH probably wont last that long. Will post results after test.
Regards
Jim
EDIT: Pi connected to HDMI and Ethernet, Wireless Keyboard/Mouse.
Lasted about 2 hours on 1820mAH Battery. @Jonathan95351
Pi was not doing anything, just powered up with nothing but normal OS loaded.
Configured Pi Juice app to shutdown Pi and disconnect power when 3.6V reached
Pi reboots when battery charge reaches 7%.
The Pi Juice is perfect for what I want to do, but the included battery is a waste, 2 hours is not really long enough. If the Pi was connected to mains and the Pi Juice used to keep Pi going for when mains failed, it would be great. My project is for the Pi to be mobile and last for about 6 hours at least.
EDIT: Using SW1 to shutdown the Pi and disconnect power will leave it that way.
If on battery and it becomes discharged; the Pi Juice will shutdown the Pi and disconnect power.
When the battery is connected to a charging source and reaches 7% the Pi Juice will boot the Pi again.
This makes for a completely automated UPS system. Really impressed with this little device.
Well designed and worth the cost.
Fitted the Pi 3B+, Pi Juice, and LCD into a PIco UPS Case. The internal panel needed modification, the Pi Juice was about a millimetre too tall. Fitted a switch to the front panel connected to SW1. Enlarged the power access point so the Pi Juice connector was visible. Used extenders on the LCD to place it about 5mm from the top of the case. Attached the battery to the rear panel with some double sided tape.
Ran a couple of charge discharge cycles.
Battery got warm during operation and it did not stop charging, even with the Pi power turned off. It remined warm, not good !!! Tried a few different profiles. Nothing seemed to work.
Was about to scrap the whole project when a thought occurred, maybe the battery getting warm was the problem. Removed the back panel and battery, problem solved. LED flashes Blue in use and changes from Red to Orange to Green through charge cycle; as it should. When it got to about 98%, power was removed and the LED stayed Blue, which indicated full charge.
Never used a LiPO with a NTC (3 wire) before, suspect the battery getting warm affected the Pi Juice operation.
Changed the front panel to include a JST connector and attached a new JST to the battery wires. Used a 2.5mm as the 2.0mm is not really suited to the larger wires.
The Pi Juice profile I used is the built-in 5000mAH with the battery capacity changed to 6000mAH.
Seems to work nicely now and I learned something about LiPO NTC’s.
Finally got the Pi Juice to stop trying to charge the 6000mAh LiPO when it was fully charged.
I don’t think heat was the problem. The charging did not change when the battery was removed for the case.
Changed R10, R50 & R90 parameters and when the battery is full, the LED stopped flashing indicating the Pi Juice had stopped charging. Turning on the Pi the LED begins flashing again but stops when the Pi is powered off.
The change was: 111 to 120 for R10, 105 to 110 for R50 and 107 to 110 for R90.
Confirmed with a current meter, when fully charged and the Pi off the current dropped to 10mA.
I wish this kind of information was on the Pi Juice web page, Git Hub and the LiPO page.
A disclaimer saying you are on your own if you don’t use Pi Juice LiPO’s is insufficient.
Anyway, been a long road, but got there in the end.
Regards
Jim
Ran the Python battery profile test from the Pi Juice Git Hub page on the 6000mAH LiPO.
Set the parameters in the program to match the battery and conditions.
DON’T use this program unless you absolutely know what you are doing, or it will give wrong readings and you could damage your battery & Pi Juice. I am posting here to show that not all LiPO’s are suitable for the Pi Juice with the profiles provided. You need to know the battery characteristics to ensure the profile is suitable for the LiPO.
At 90% battery charge it returned OCV = 4075 and Rbat of 122.0mOhms.
At 50% battery charge it returned OCV = 3887 and Rbat of 119.6mOhms.
At 90% battery charge it returned OCV = 3645 and Rbat of 121.8mOhms.
Going to use these figures in the Pi Juice profile. My guess was close.
Nice work getting it up and running - sorry I haven’t gotten back to you sooner! This one slipped under the radar. Yes, running the calibration test on your batteries is definitely a good idea if you plan on using it on the go, rather than just as a UPS.
FYI, there are two events that must occur for charging to complete, since there are two stages to lipo charging - constant current (CC), and constant voltage (CV).
To end the CC mode the voltage must reach the Regulation Voltage. Once the Open Circuit Voltage (OCV) of the battery reaches this level, the charger switches to CV mode and maintains that voltage level while allowing the current to decrease. To finally terminate charging, the current draw from the charger must drop below the Termination Current.
It’s important to note that in CV mode the Charger, battery, and PiJuice are all hooked up in parallel, so if your Pi is on and drawing enough current, or your termination settings don’t match your battery then the charge may never terminate.
And of course, if you pull any power at all while the PiJuice is connected to power, it will do its best to keep the battery charged while also powering the Pi (remember the charger is connected in parallel with the battery once it reaches Cv mode).
Charging currents will be reduced if the battery temperature (measured by the NTC) goes outside the Cool or Warm temperature levels. Charging will pause if the battery temperature goes outside the Cold or Hot temperatures.
It’s my understanding that the OCV and Battery Resistance settings don’t have any bearing on the charging and are only used to calculate the State of Charge (SoC) by the fuel gauge IC.
@Oliver I don’t know how the OCV and Rbat values in the profile are used by the Pi Juice but they did make a difference to the Pi Juice stopping the charge process.
When the values from the 5000mAH built in profile were used; the measured current into the Pi Juice, with the Pi powered off, did not fall below the minimum current level. That was worrying.
Increasing the R90 value to 110 from 107, the current fell below the minimum level and reduced to 10mA which is the specified operating current of the Pi Juice.
Once I understood the calibration process, I ran the program at 90% 50% and 10% charge levels.
The OCV and Rbat values produced were used in the profile, as shown above.
The battery ran through a complete charge and discharge cycle today and I am happy with how it performed. Measuring the current into the Pi Juice and the battery voltage with the Pi turned off. IMHO it was working correctly.
The battery does not get warm, the Pi plug pack a little during the high current phase of the charge.
The time to charge seems about right based on the 6000mAH capacity of the battery. And my experience with other LiPO’s.
This has been a good learning experience for me and shows the Pi Juice is an excellent product, when used correctly. But if not using the standard battery or one that has a tested profile, you need to determine the correct figures to ensure the life of the battery and Pi Juice.
Anyway, hope this may be of assistance to someone else one day.
Cheers
Jim
Hmm, I’ll have to have a dig when I get a chance. Now I think about it a bit more, it’s possible they use the internal resistance values to estimate the actual OCV, and use this estimated OCV for CC mode charge termination when charging while drawing current.
Might have to check in with the PiJuice developers or have a dive into the firmware code to get a definite answer on this then.
Thanks so much for sharing your experience It’ll definitely help out others in the future. I’ve actually suggested to @Tim that he make a tutorial on setting up a custom PiJuice configuration so there might be some reference material that’s a bit easier to understand in the future.
 It’ll definitely help out others in the future. I’ve actually suggested to