This is a placeholder topic for “Adafruit NeoPixel NeoMatrix - 64 RGBW - Cool White - ~6000K” comments.
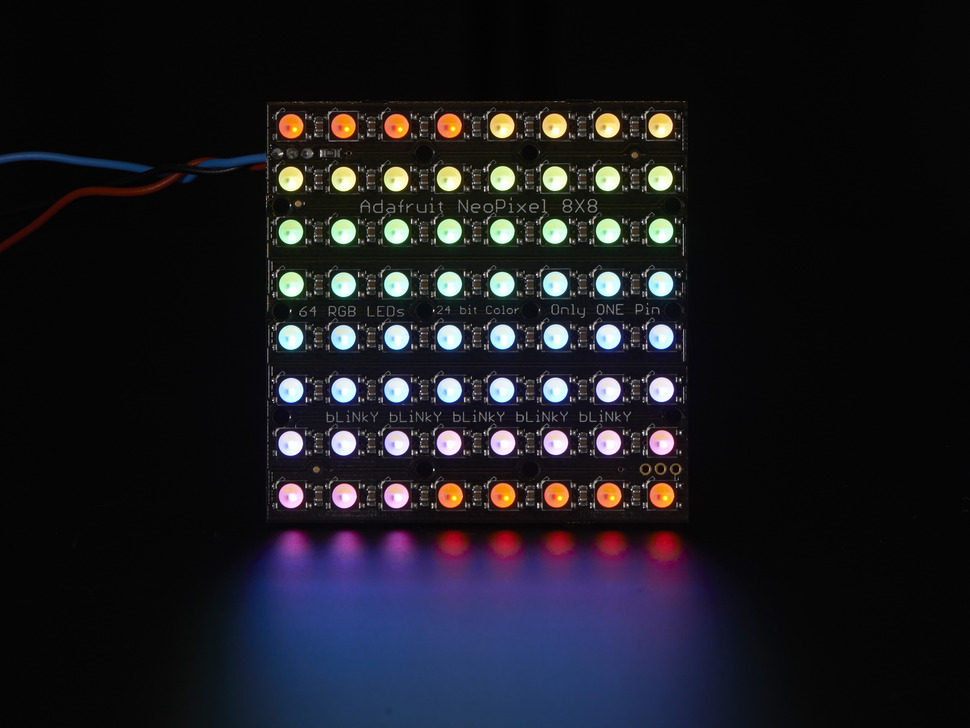
Put on your sunglasses before wiring up this LED matrix - 64 eye-blistering RGBW LEDs adorn the NeoMatrix for a blast of configurable color and white. Arranged in an 8x8 matrix, each pixel is individually addressable. Only one microcontroller pin is required to control all the LEDs, and you get 24 bit color for each LED.
Read more
Hi Guys, I’ve got a bit confused here on the website about what will and won’t work with a Raspberry Pi. You have a Neopixel tute there on your site for using a Raspberry Pi, but now I don’t know if that tute is relevant for this array. Is it a yes or no for Raspberry Pi?
Regards.
Hi Charles,
This will work with a Raspberry Pi, it will need different code though. You can find information about it in Adafruit’s NeoPixel Uberguide:
Thanks for that. Which logic level converter would you recommend for 3.3 to 5 volt step? It looks like it needs to cope with at least 2 amps.
Cheers, Charles
University of Tasmania Electronic Communications Policy (December, 2014).
This email is confidential, and is for the intended recipient only. Access, disclosure, copying, distribution, or reliance on any of it by anyone outside the intended recipient organisation is prohibited and may be a criminal offence. Please delete if obtained
in error and email confirmation to the sender. The views expressed in this email are not necessarily the views of the University of Tasmania, unless clearly intended otherwise.
Hi Charles,
I recommend this one:
https://core-electronics.com.au/logic-level-converter-bi-directional.html
This is for the digital signal only, you need to provide the LEDs with 5V directly from a power supply for them to handle the current. If you try to power the LEDs through the Pi it will damage it.
Thanks for the heads up, although I had already looked at your NeoPixel tute which had also made this point. The tute is a great resource, it just didn’t quite link this item to the RPi. It’s through the tute that I knew I needed the logic level converter.
I have a 5 volt supply.
Cheers, Charles.
1 Like
I’ll just finish this off now that I have it working, and it is a ripper!
I have a Raspberry Pi Model 3B+ that I bought from here about 6 weeks ago. I also bought the NOOBs micro SD. Put it all together and let it do its update.
I started with the Core Electronics tute (built the circuit with the logic level converter) and then went to the NeoPixel UberGuide where I found these instructions.
This was all I did to get it working:
Go to a terminal and type ‘pip3 install adafruit-blinka’ (this worked without a sudo for me).
Once that has installed, type ’ sudo pip3 install rpi_ws281x adafruit-circuitpython-neopixel’. Then just follow the code examples at https://learn.adafruit.com/neopixels-on-raspberry-pi/python-usage
Because this item is RGBW, the basic code I used to turn on one Pixel was:
import board
import neopixel
pixels = neopixel.NeoPixel(board.D18, 64, pixel_order=neopixel.GRBW)
pixels[0] = (255, 0, 0, 0)
Also I turned the brightness up to 0.5 and it was pulling 1.5 amps with all LEDS. It was bright and I was too scared to turn it up higher.
Cheers, Charles
2 Likes
Hey Charles,
Glad you got it all working! You shouldn’t be scared of turning that brightness up all the way, as long as your power supply can handle the current.
Keep in mind that different colors draw different amounts of current. Red, Green, or Blue draws about 20mA per pixel, but once you get into colors that combine those then it goes up! Yellow is 40mA, White is 60mA! This may be a bit different for RGBW, but its a good rule of thumb.