This powerful monocrystalline solar panel features an A-class monocrystalline silicon panel imported from the United States, a conversion efficiency of up to 21%…
Hey @Donald23173,
You’re right, the panel is described as waterproof, but it doesn’t list a specific IP rating like IP67, which would give you more confidence for permanent outdoor exposure. In this case, it’s likely splash-resistant or suitable for brief outdoor use rather than long-term exposure.
Mounting it inside a weatherproof enclosure (or under a clear acrylic panel) is a good idea, it would give you better protection while still letting the panel generate power. Just make sure there’s enough airflow to prevent overheating in sealed boxes.
And also much better value when measured as milliAmps per $.
FIT0601 spec generates 1000mA for only 19.10 ... a whopping 52mA/ ; whereas for instance the rigid WS-24166 also generates 1000mA but costs 37.10 (= 27.0mA/).
But as Ryan points out there are several other important considerations to factor in.
Just as well i recently bought some acrylic sheet I am so tempted by the FIT0573’s 2A output being the highest I found in 5-6V solar panels at a price I can afford. I recall also that Andreas Spiess suggested using glass kitchen baking dish with a sealed lid. More thought and research required
Back again after receiving one of these I would appreciate any sanity checks on my thinking moving forward …
Obviously I want 3mm acrylic sheet covering the top of the solar panel, and enough down the sides to stop the rain being blown in. The solar panel claims showerproof so thinking I probably don’t need to have it totally enclosed. I am thinking to bend the 3mm acrylic over at the top and bottom. Might be easier to glue a couple of acrylic strips at the sides rather than trying to get more bends to line up and seal … but I haven’t yet researched which glue for acrylic.
Thinking to mount the solar panel on a 4.5mm acrylic sheet which is also bent to give the mounting bracket.
I have given some thought to using a pan/tilt base so the solar panel can follow the sun … but I have been down enough rabbit holes already for this project. Don’t overthink this - a fixed solar panel will do for now.
I came across information which indicates that in mid winter at my location the sun is at 45° above the north horizon, and 90° in mid summer. Given that winter is when I need to collect all the energy I can, thinking that 50° or 55° angle is best - though it would be good to be able to tilt it up more in summer.
As far as the compass direction goes, the 2-storey house next door currently casts shadow over the solar panel in early afternoon, so I will point more towards the late morning sun.
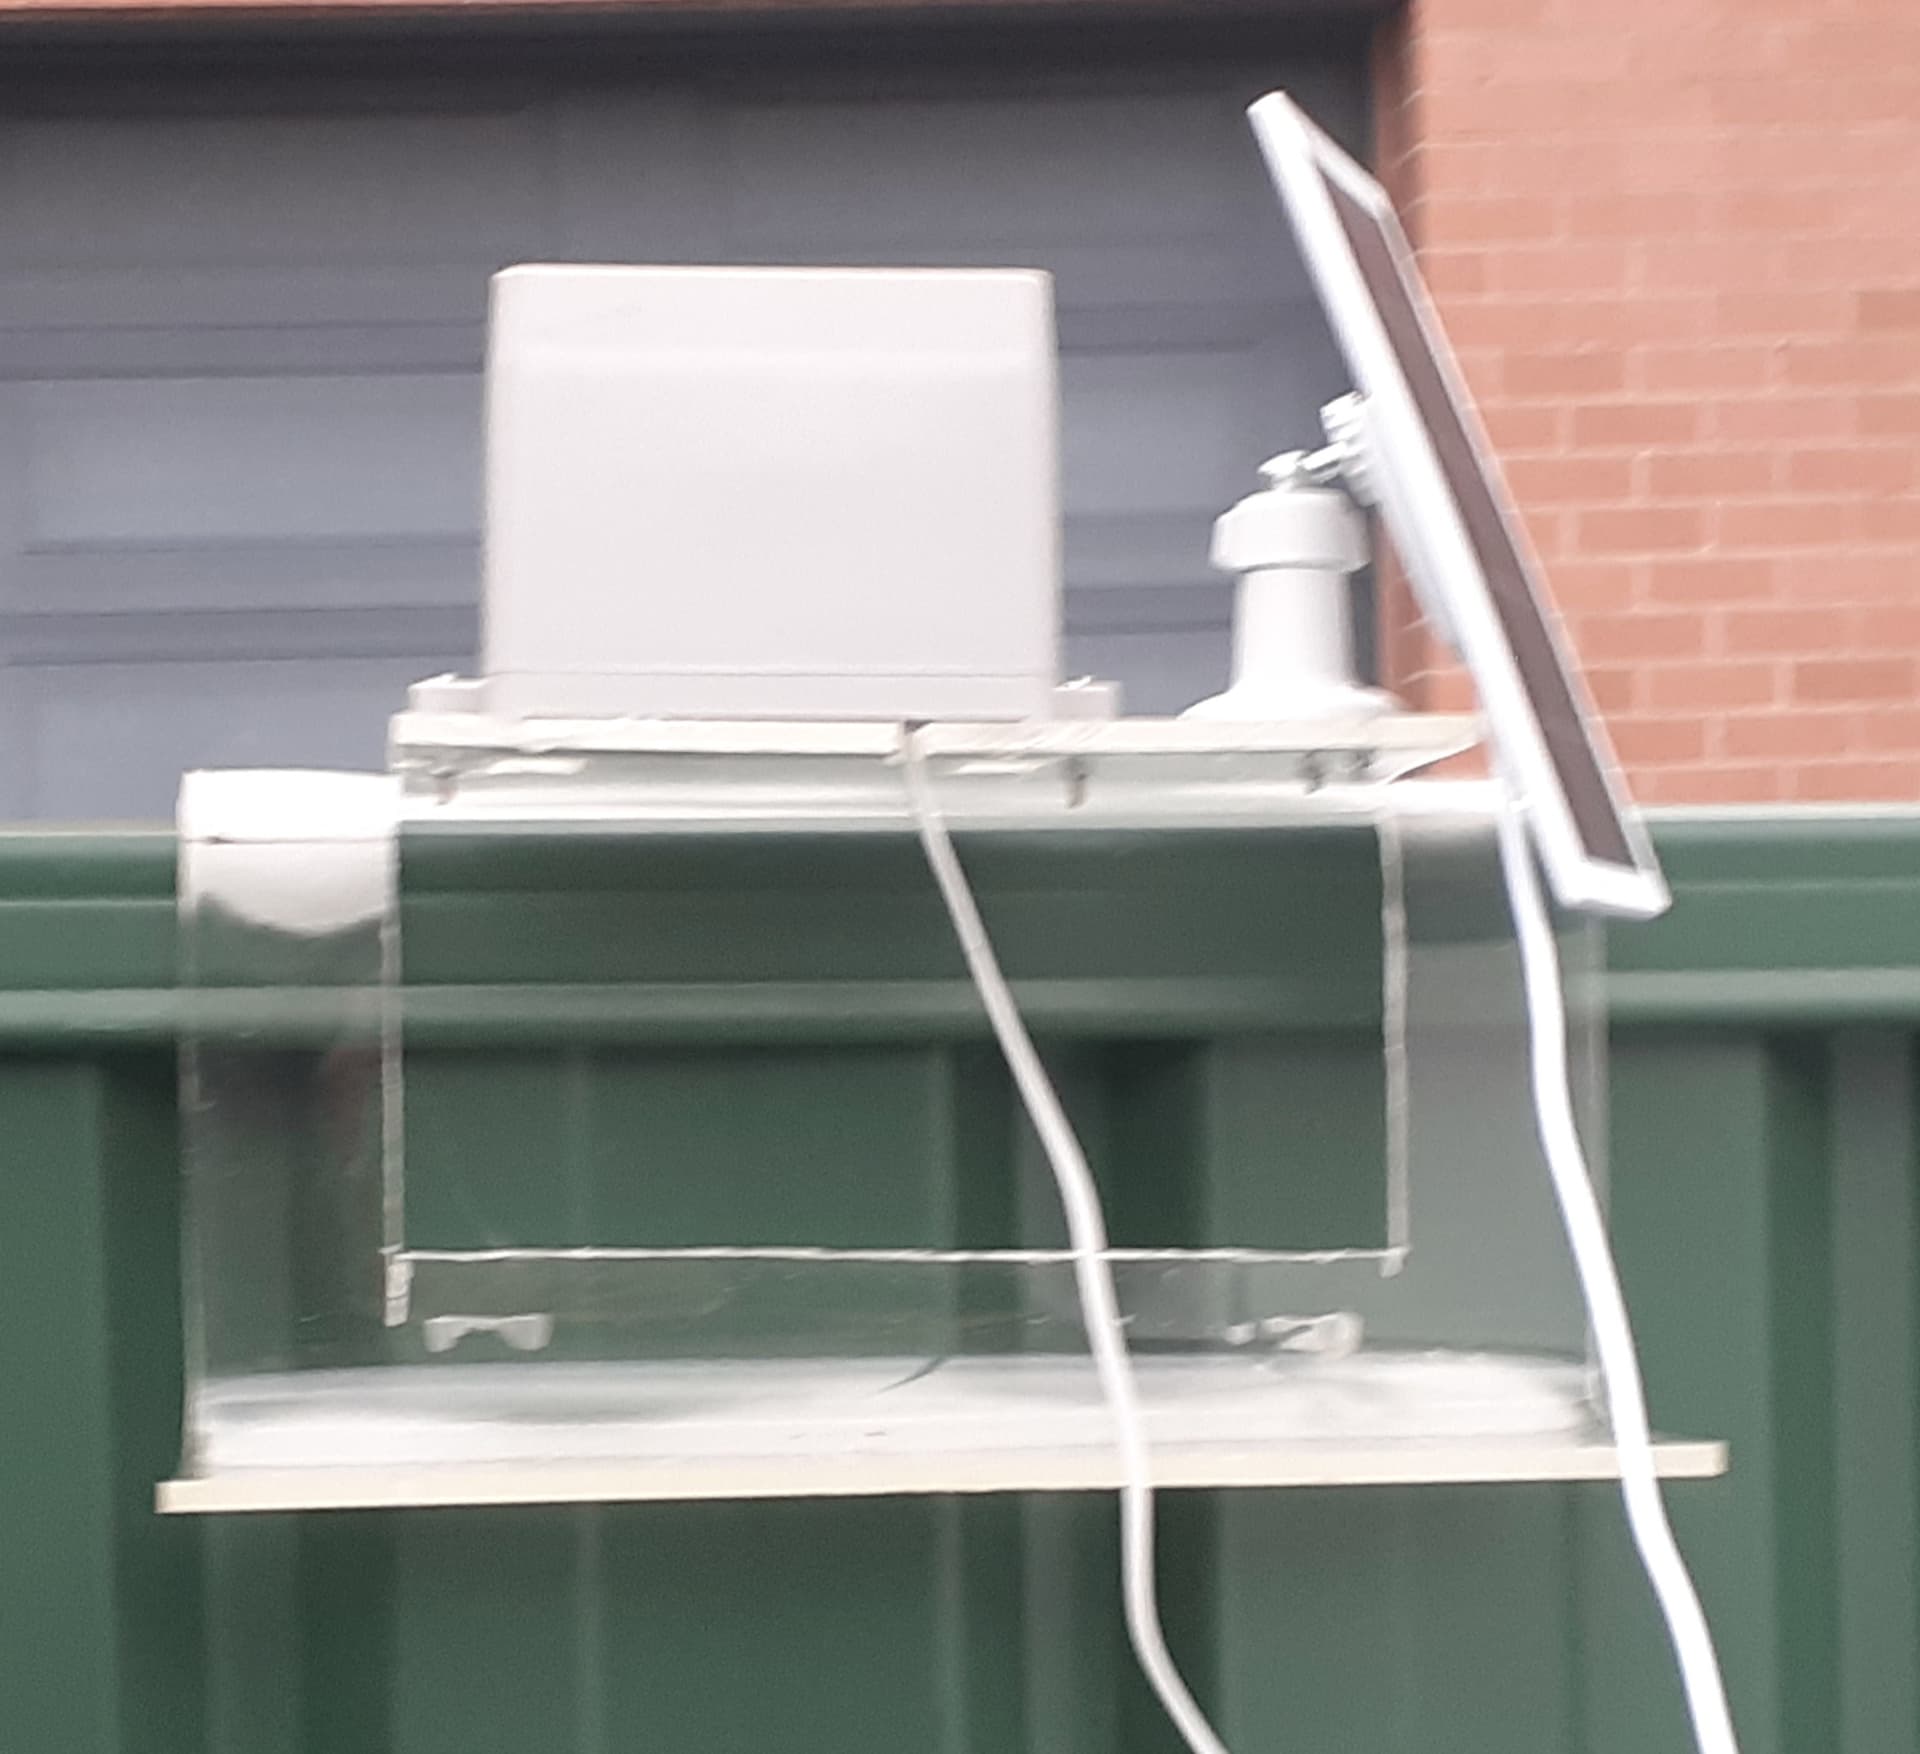
There greenhouse has no exposed beams I can attach from the outside, and I’m renting so cannot permanently attach anything to the fence next to the greenhouse. Currently I have an acrylic sheet bent to slot over the fence, containing rain gauge and small solar panel, which is working well so far.
So, I’m thinking blue is the 4.5mm acrylic which the solar panel is attached to and is bolted to the existing frame at the bottom. The solar panel indicated in black. And the 3mm acrylic sheet shown in green, hooking over the 4.5mm panel at top and bottom, but not needing a waterproof seal.
This is super cool. I found this page on optimal solar panel angles, which may be useful for you. My main takeaway was that close enough is good enough for most applications, so I think your logic for optimising for the winter months is sound.
I would recommend making sure your acrylic cover has good ventilation, probably with some holes or a gap at the bottom edge of the panel. Condensation in the gap between the solar panel and the acrylic is likely to happen at some point, and you want to make sure this can dissipate while exposing the solar panel to as little water as possible.
Very cool project! I look forward to seeing the end result!