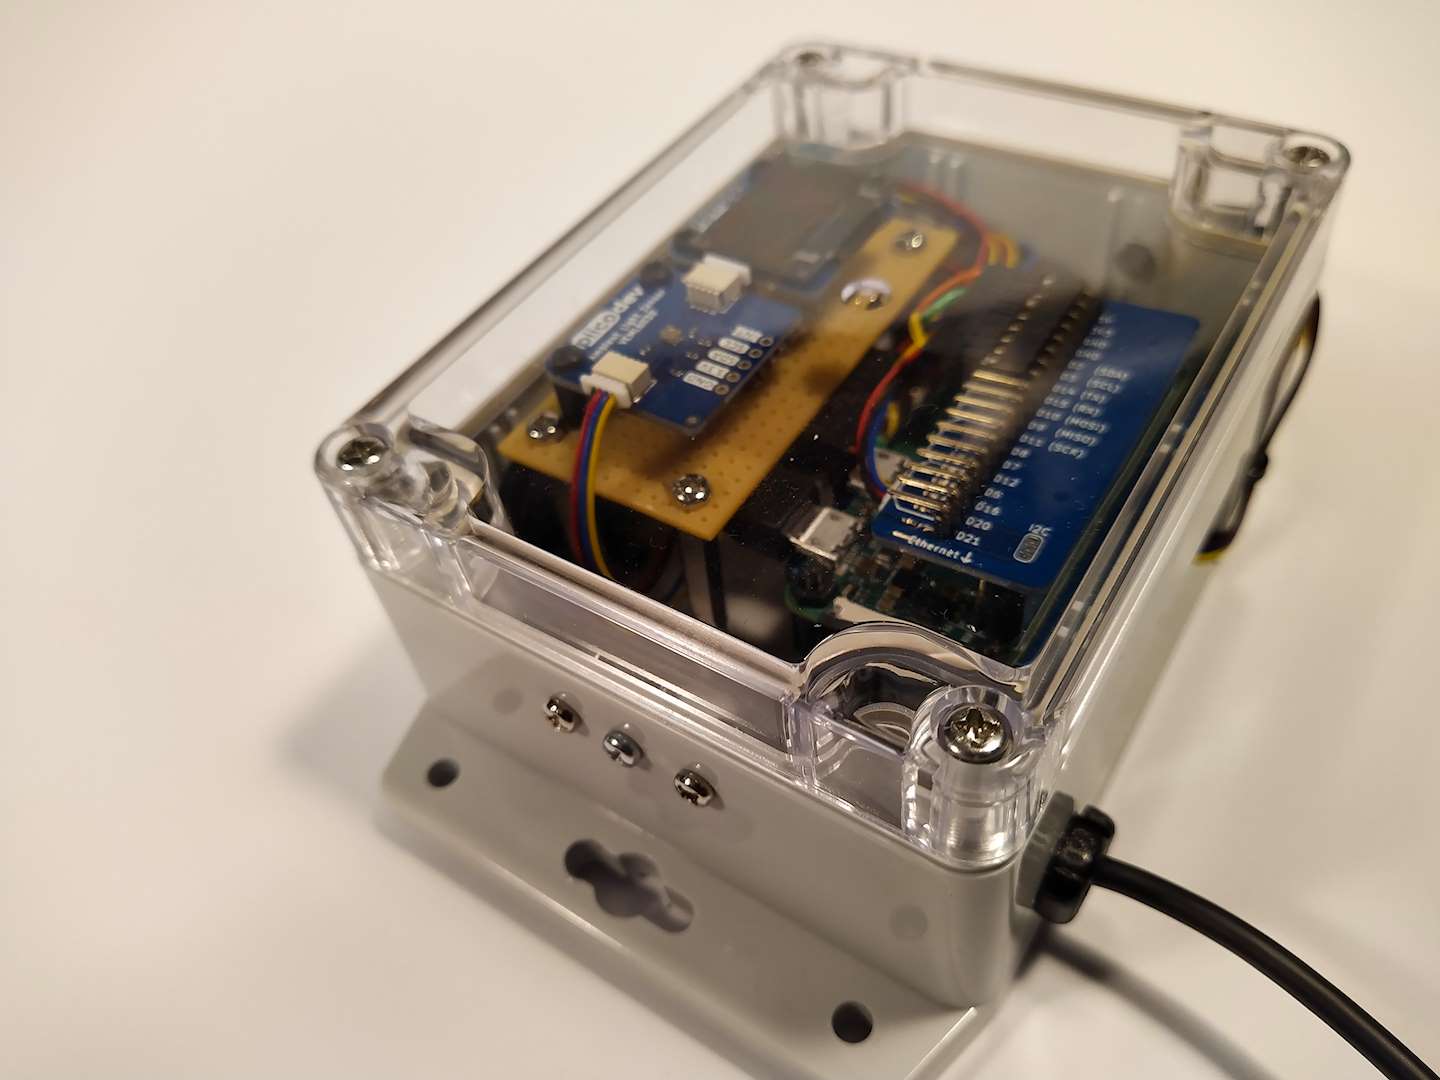
Environment Monitor V3 - Using PiicoDev Sensors
This is the third version of the Environment Monitor. All have used the PMS5003 Particle sensor but with different sensors. When version 2 was published by Core Electronics; a suggestion was made to use PiicoDev sensors. Good idea I thought as the Pimoroni Enviro+ board, used in version 2, had some drawbacks. The Python code has been modified to read the PiicoDev sensors, the web interface has not been changed.
See Environment Monitor V2 in the projects area for more details.

Environment Conditions measured.
Temperature, Atmospheric Pressure, Light intensity, Particles.
Parts:
Raspberry Pi Zero W
PiicoDev Ambient Light Sensor VEML6030 SKU: CE07692
PiicoDev Pressure Sensor MS5637 SKU: CE07832
PiicoDev OLED Display Module (128x64) SSD1306 SKU: CE07911
PiicoDev Adapter for Raspberry Pi SKU: CE07690
PiicoDev Capacitive Touch Sensor SKU: CE07816
PiicoDev Pressure Sensor MS5637
In my opinion this is a better product than the BME280. It does not suffer self heating. The sensor was eventually mounted outside the case to try a get accurate temperature measurements (not an ideal location). The Pi gives off so much heat the temperature measurement is only an indication of the air inside the case. This is a problem with the Pimoroni Enviro+ board too. Even mounting the board flush with the case altered the temperature over time.
Three temperature devices were used to confirm measurements. A PiicoDev TMP117 was connected and placed in close proximity to the MS5637. A separate temperature recorder using a DS18B20 was placed close to the case. The TMP117 & MS5637 differed by about 0.7 degree. The DS18B20 was about 1.5 degrees lower.

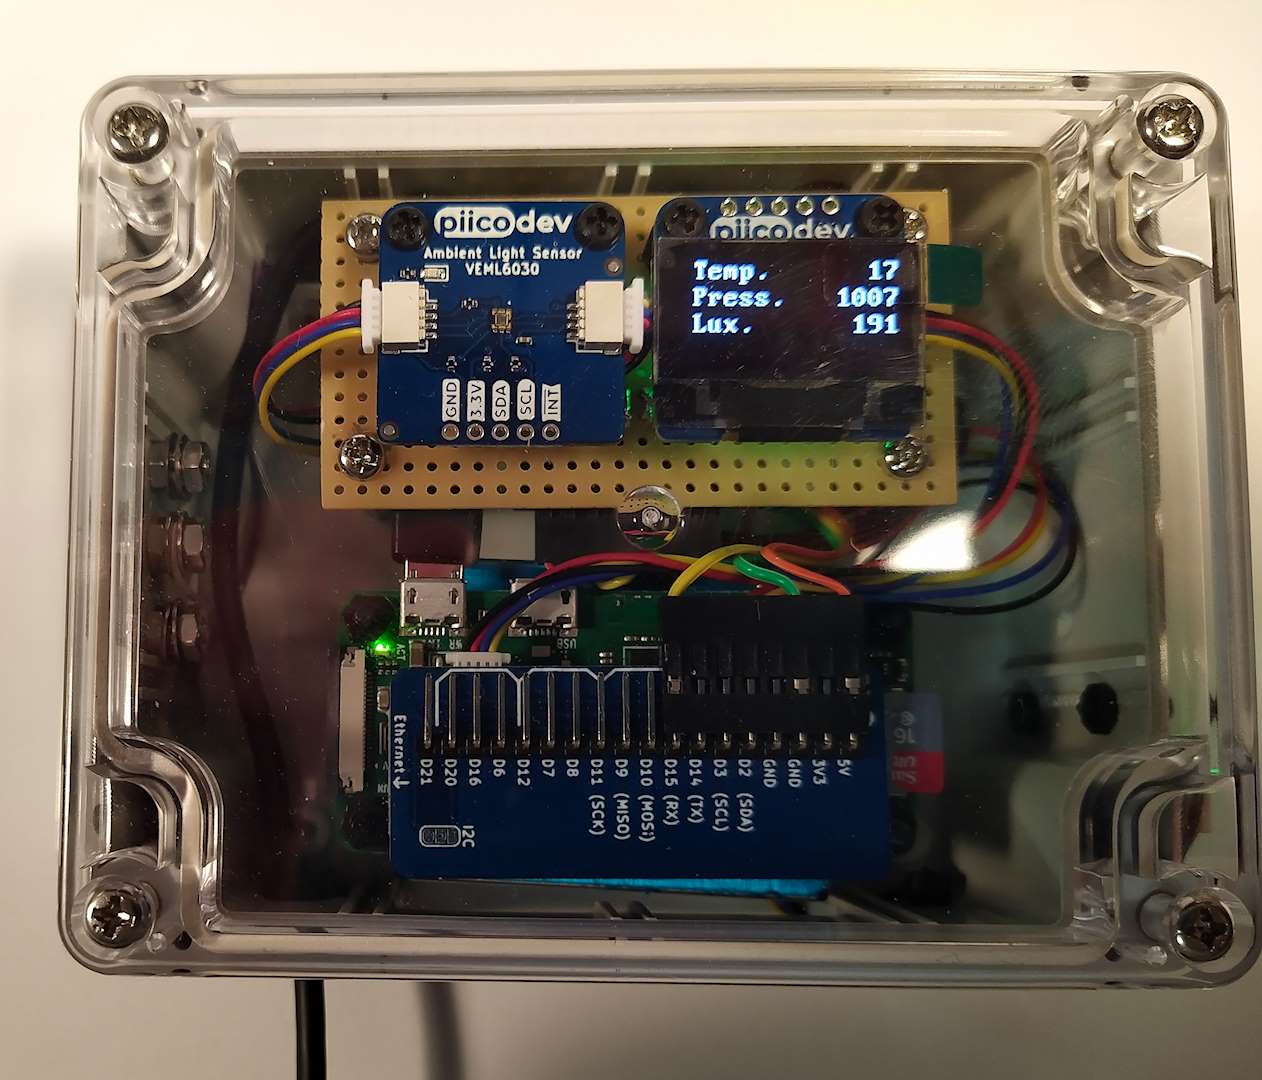
PiicoDev OLED Display Module (128x64) SSD1306
Adafruit OLED drivers were used for the SSD1306, the ability to use many different fonts and scale these fonts produces a better output than the pixel mapping of the PiicoDev library. (IMHO) The display cycles through 3 screens and turns off after 60 seconds.


PiicoDev Capacitive Touch Sensor
The Cap Touch sensor was used as a 3 button input to the Pi to control program operation. The board was connected to 3 x M3 screws on the side of the case. Touch them and the program sees them as a switch press.
Button 1 activates display.
Button 2 adjust location height
Button 3 shutdown the Pi

Atmospheric Pressure adjustment
All weather predicting organisations around the world adjust the Atmospheric Pressure to map what it would be at sea level, the following formulae is used.
- h = 0.0065 * Location_Height
- pressure = pressMS5637*((1 - (h / (tempMS5637 + h + 273.15)))**-5.257)
The reason for this is, all weather maps would show low pressure storms for high altitude areas, which would not be the case all the time. The Python code has followed this principle and adjusted the pressure reading. Location_Height is adjusted by selecting Button 2 then using Button 1 to decrease and Button 3 to increase the height in meters. Button 2 exits the adjustment function.
The pics below show how the height affects the pressure reading making it necessary to know the general height of where the Environment Monitor is located.
BTW Aircraft do not adjust the sea level, they adjust to the runway height or whatever land they are flying over.


Conclusion
The PiicoDev sensors and library are really easy to use and implement. Core have done excellent work.
Next post will be the Python script when I have tidied it up.
Regards
Jim