Unfortunately I managed to break my piicodev adapter while trying to get it to sit on my argon 1 case last night and need some help making a work around in time to pilot test my horse training device tomorrow. I have some piicodev breakout pins for a breadboard-could they be used as replacements? And if so-how? I have the breadboard with an adafruit breakout cobbler. Am trying to avoid recoding at this late stage so would like to use the piicodev code I was using before because it was working perfectly with the setup.
My second question relates to the piicodev cap touch sensor. I have it attached to a piece of plastic (30cm x 3cm) which is what the horses will touch with their noses. It is attached via an embedded piece of 1mm copper wire which is then bent through one of the ring terminals. This works ok but wire gets dislodged easily and if use tape or thinner wire to secure it at the ring terminal it triggers the sensor. I’ve tried alligator clips and have the same problem. I would appreciate some advice re how to secure the copper wire firmly to ring terminal. Thanks in advance for the help.
Third question- what would be the best option to extend the distance between a servo motor spline and the part that it moves-my motor keeps getting detached from the wheel it needs to move because there’s only a few mm between the spline and the wheel.
Yep! The PiicoDev adapter uses GPIO 2 and 3, so if you use them, and the pullup resistors that would be on the board (4.7k Ohm, can be skipped if you don’t have them handy) the code should work fine:
The capacitive touch board will calibrate itself to the “base” (untouched) capacitance when started up, so if you add some with tape or an aligator clip after starting up, it’ll trigger the sensor. I’ve used aligator clips and even door handles connected to the rings, so I’m confident once you do it in the right order it’ll work. Solder as Bob mentioned is a good idea, but make sure you have strain relief on the joint, as it’ll place a lot of stress on the wire where it leaves the joint.
Could you draw up a quick mudmap of what you mean? Just struggling to visualise the problem on my end.
Thanks so much for your detailed reply and apologies for not replying sooner.
Just wanting to clarify, I can solder directly onto the ring terminals of the touch sensor? Am thinking of wrapping some tinned hookup wire around one of them, soldering it in place and then creating a break with two alligator clips so I can attach and reattached the sensor as needed when we move the device. Everything has been designed to be detachable from the device for repairs and adjustments as needed.
I think I’ve solve the issue with the two plates catching so at the moment the servo powered feed dispenser is working.
So a last question- if I moved from using the buzzer to using python generated tones. what would be the best amplifier to use in place of the buzzer and given I am using the piicodev adapter, how would I attach it to the pi? Am attaching pix of set-up so it should be easier to understand my many questions.
Thanks again for your help.
First pic is of the set-up on a desk-the touch sensor is not attached to the sensor the horses interact with here.
Front of device- the blue square is the part the horses touch- it is perspex with copper wire soldered onto the back. It is connect to the touch sensor via spade terminals and gaffa tape-this needs to be improved!
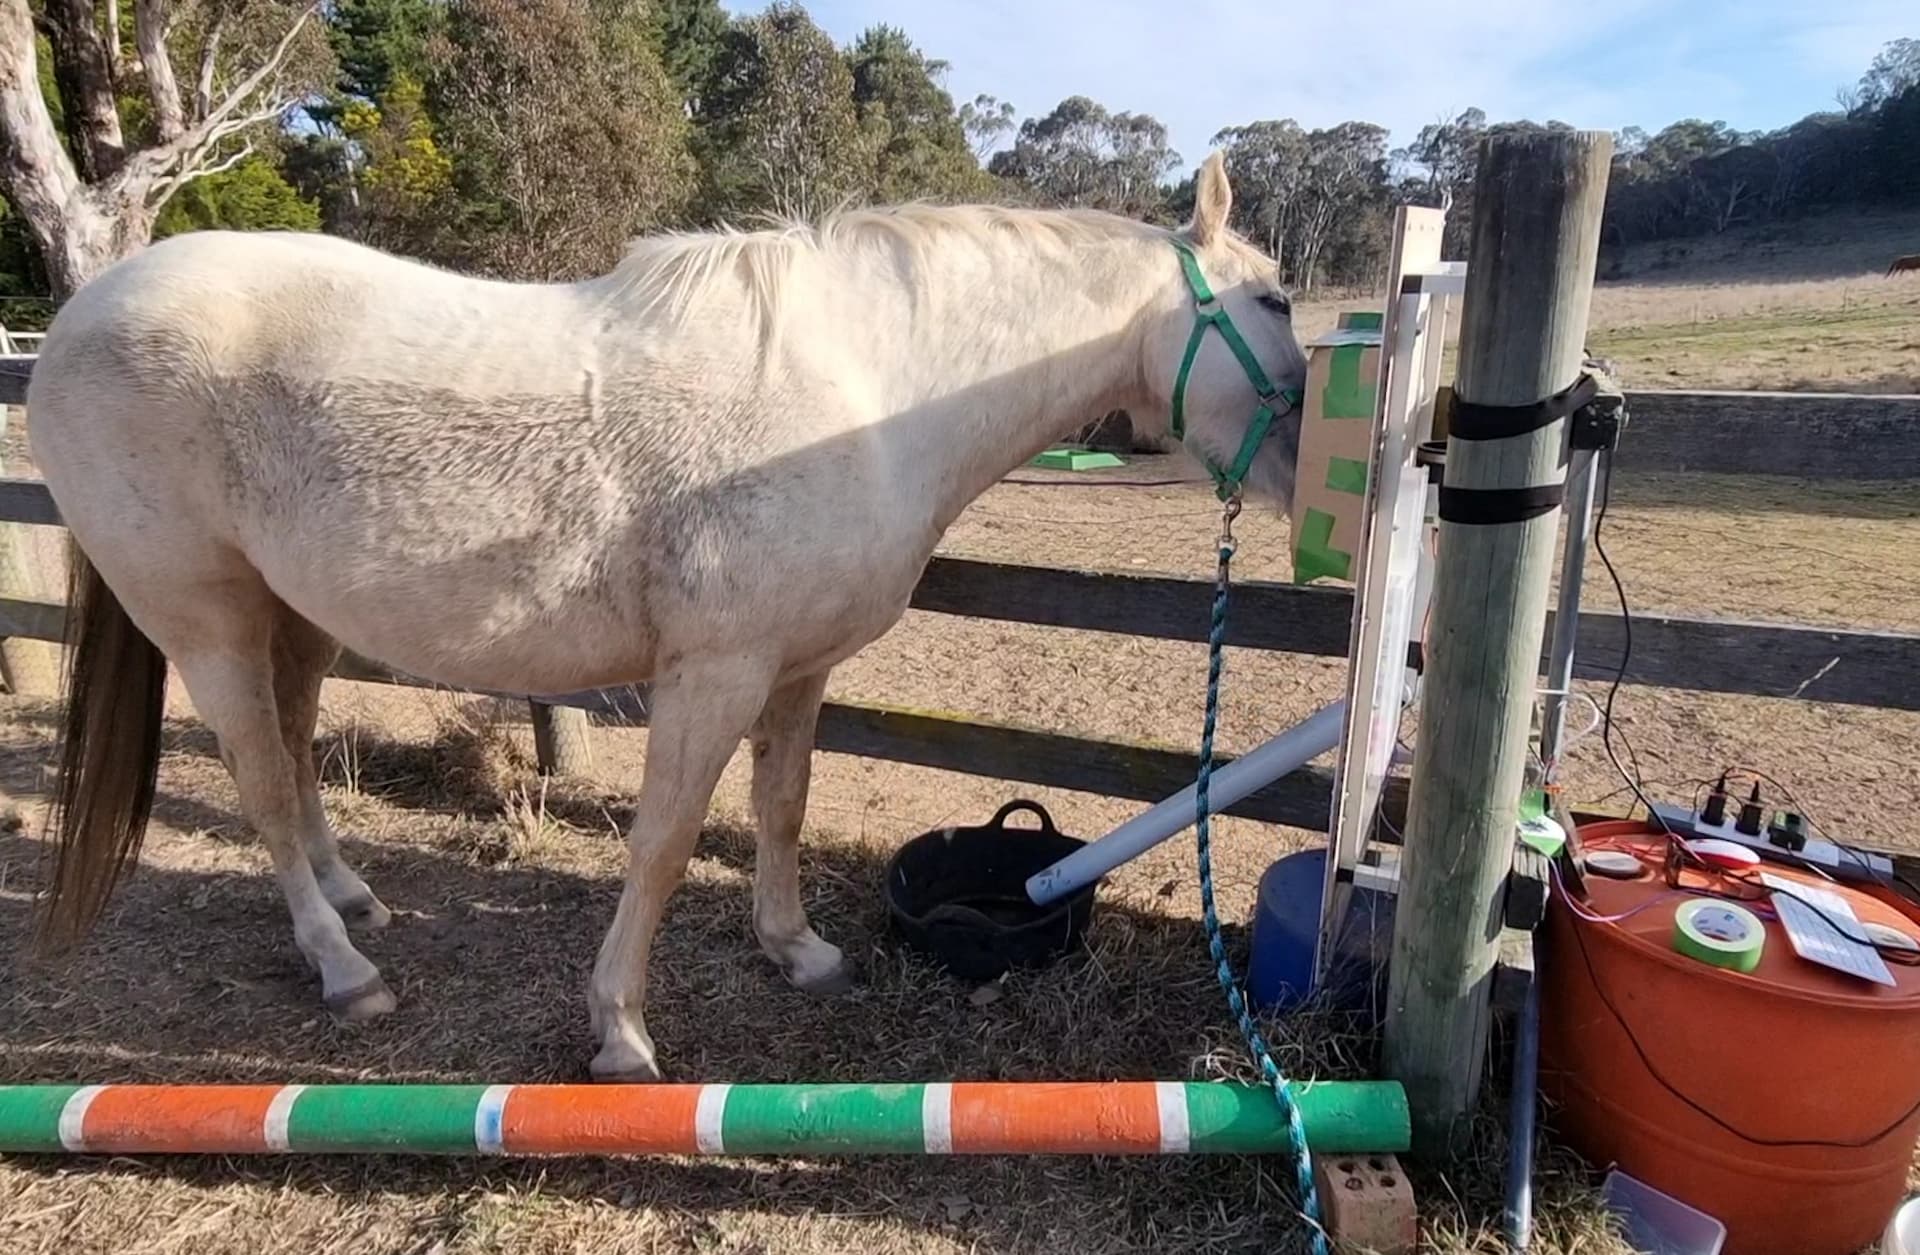
And here, gratuitously is a horse interacting with it. The cardboard around the outside is to stop the sensor triggering when the horse just brushes past it which we have found happens quite a bit. We want the horses to touch the blue panel with their noses.
You absolutely can, however it seems more work than needed. The PiicoDev touch board also has 0.1" spaced connections that can have standard pin headers soldered on, and from there you can use female jumper wires (you may have these laying around) soldered to something else, or crimp on your own connectors if you want:
Good question! The Pi has an audio jack, so any regular bluetooth speaker with a 3.5mm port would work, or you could use a HAT with a built in amp for better sound quality (though it sounds like it’s beeps and boops):
These come with pins on the top that pass through GPIO, so you should be able to stack our PiicoDev adapter on top
Lovely to see this project progress, great work so far!
Thanks for all this info James. Have another question re getting amplified sound working. What speakers would you recommend to use if I went down the DigiAmp+ route? Or could I get the result I am looking for- increasing the volume of single tones of different frequencies beyond what the piezo buzzer can deliver, using standalone speakers such as these two products using the USB ports on the Pi?
Lastly how can I tell if I am about to overload the pi adding additional products like a speaker system and a piicodev transceiver system to the original piicodev touch sensors and servo driver as well as waveshare screen and mouse/keyboard?
The project is progressing with all the help I am getting here and hopefully into the final straight re starting to collect our data with a lot of horses! Thanks again for your help.