Resin 3D printers are an immensely powerful tool in the hands of a maker and they have never been more accessible. So welcome to a rundown on this technology. This guide will completely equip you with the knowledge so that by the end of this video you will be ready to safely pour liquid resin into the tank of your resin 3D printer and start your printing journey with full knowledge of the technology and provided tools.
One of the best resin 3D printers in the business right now is the Creality LD-00H UV 3D Printer, with its speedy monochrome lcd screen, and is the perfect demonstration piece to go through this exploration of resin 3D printers.
Good morning, I refer to a Halot mage 3d printer.
when I mold in the tray, a resin thin film alwaysa forms. Since this is a huge waste, how can I prevent it from forming?
Thank you
Mirco
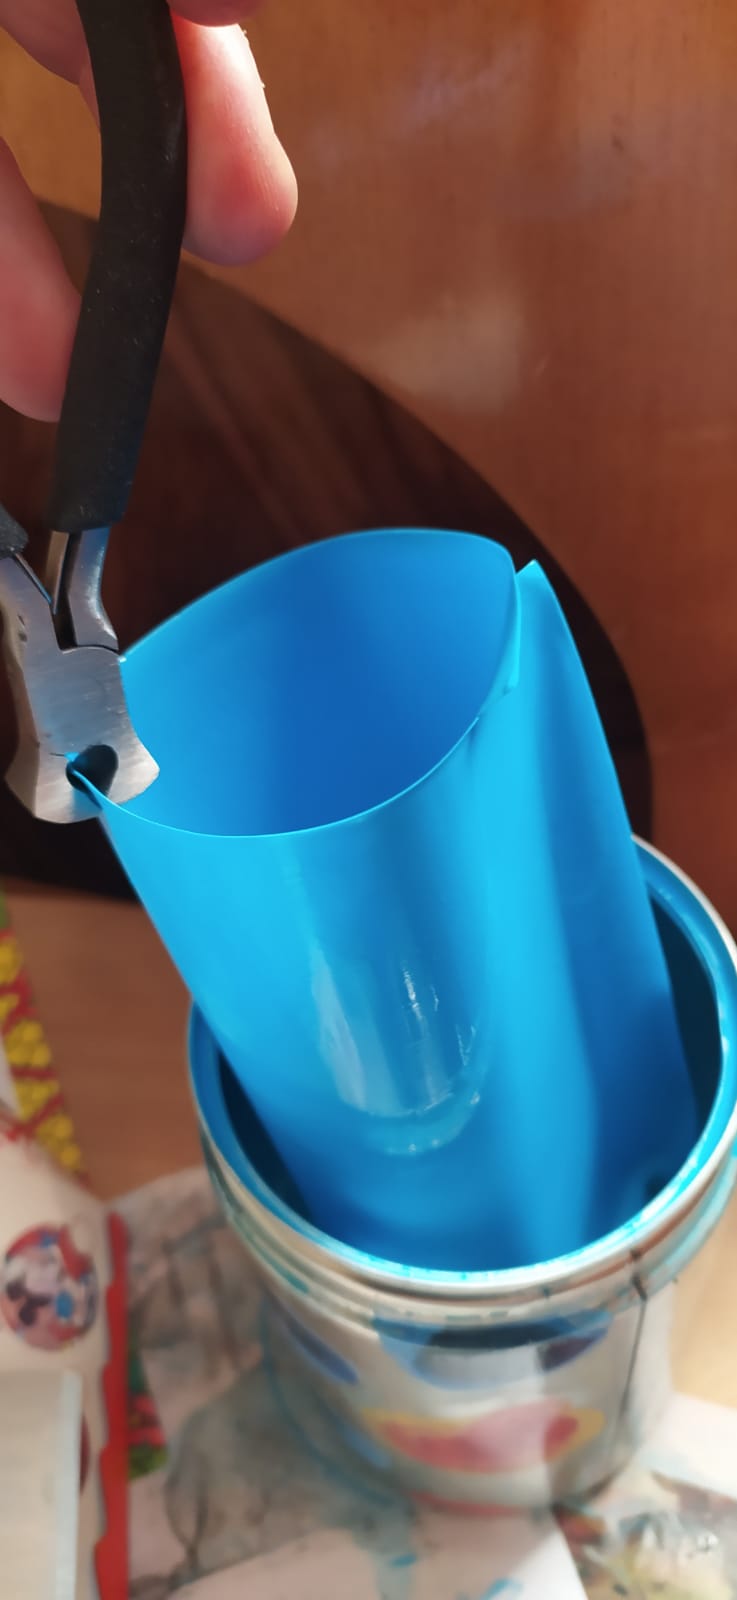
Hi Zack, please find the attached two pictures.
Even when I have to print two very small objects such as small buttons, I get this layer of resin at the base of the tray that I have to remove each time. I would like to avoid its formation which a cost and a waste of time. Thank
you, for your help.
Mirco
2a) layer height 0,05 mm
2a) button layer count 4
2b) exposure time 4 s
2c) bottom exposure time 30 s
2d) light of delay 6
2e) lifting distance 8 s
2f) lifting speed 120 mm /min
I bought it on September 2024
No it is my first resin free delivered with the printer
Normally I used automatic support and I have just noted that on the right side at the dropdown appears : +all, + platform. (see pictur dropdown)
Does it maybe depend on it?
I have found some documentation for the software you are using. I believe this extra layer of resin is due to the generation of ‘bottom layers’.
This looks like the setting to adjust:
I’m guessing this is a typo, and this should say ‘Bottom layer count 4’.
If this is the case, you should be able to set this to 0 to remove these additional layers, although it is important to note that they are used to ensure your print sticks properly to the build plat,e so you may run into some issues with different prints if you remove these layers.