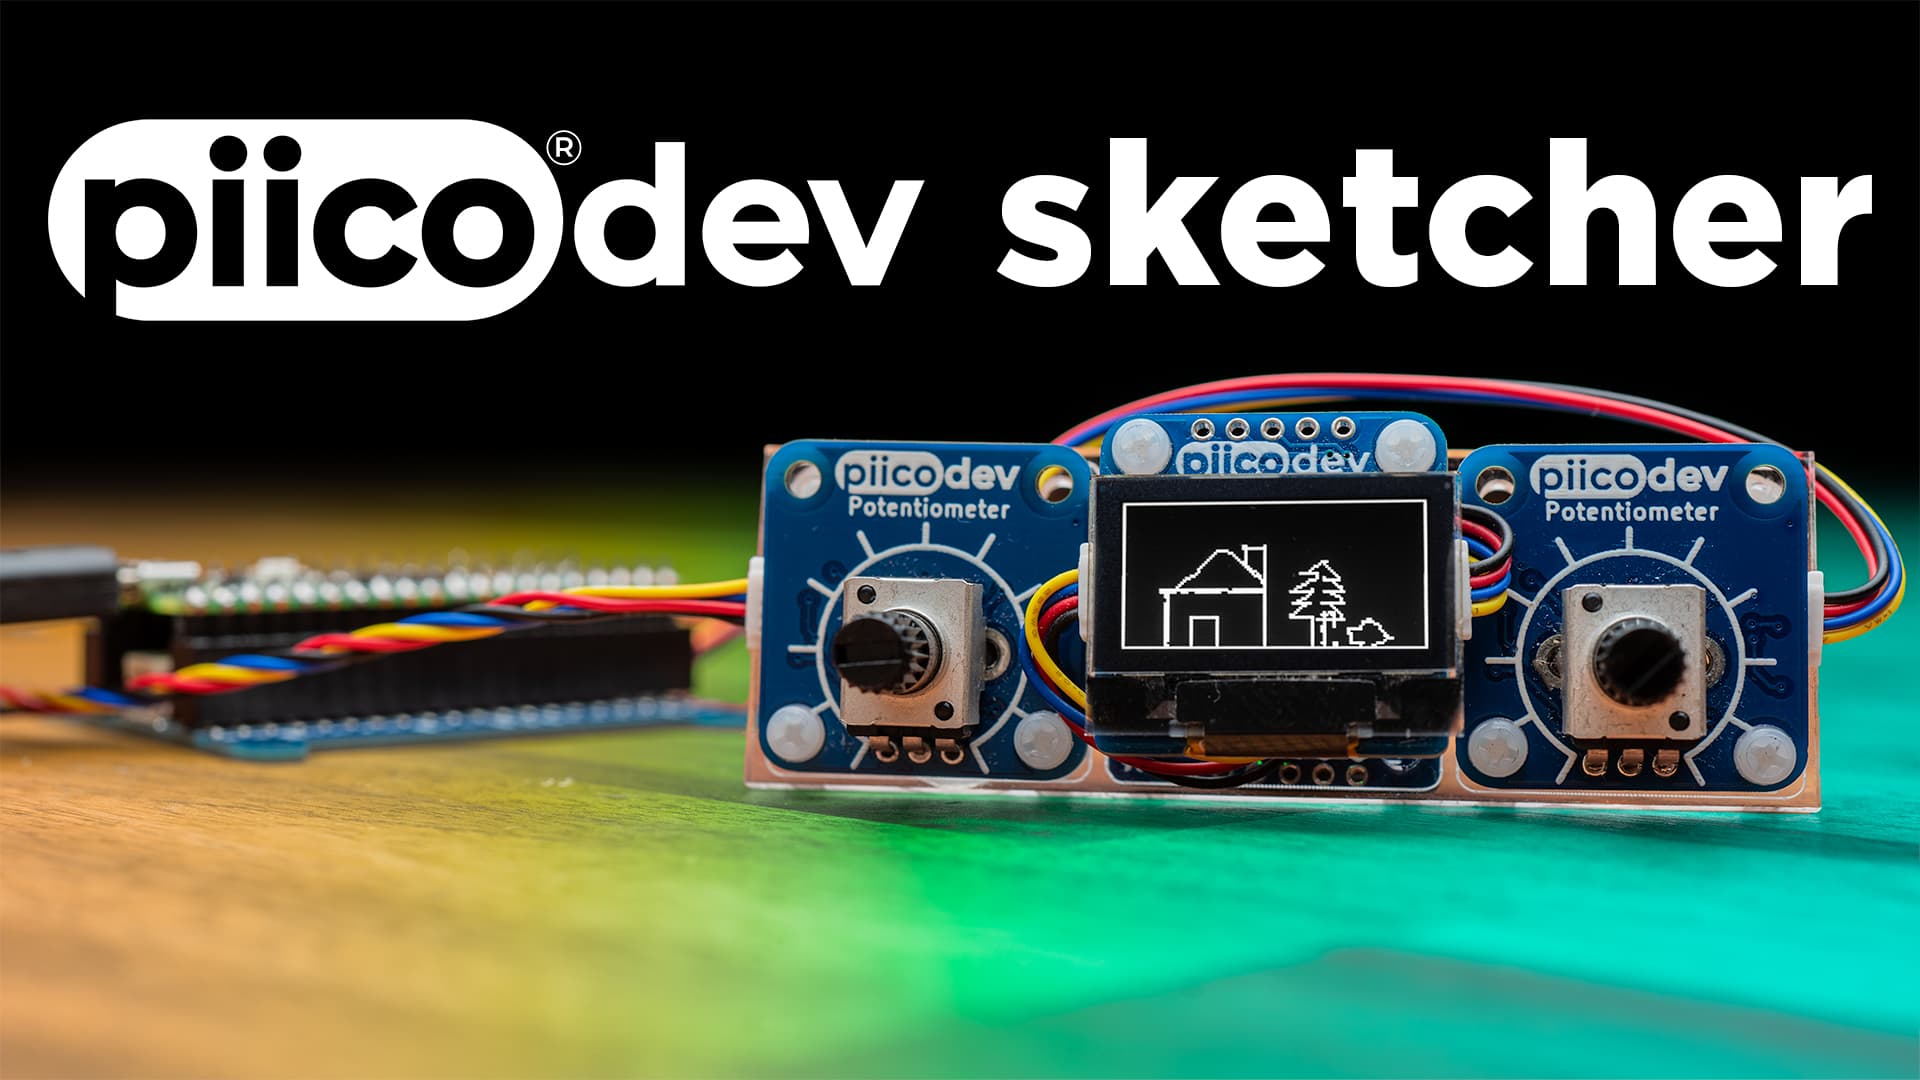
I’ve just shared a new project: “PiicoDev Sketcher”
The PiicoDev Sketcher is a fun, interactive toy reminiscent of sketching toys from my childhood. The user draws an image using the two knobs - one for X-control and the other for Y. Turning one knob at a time produces horizontal or vertical lines. The real magic is when you turn both together - creating diagonal or curved lines. Clear the sketch by shaking it!

“Read more”
7 Likes
Is it possible to draw any specific human face using the Picodev sketcher?
3 Likes
Hi Roo
I would imagine that would depend on your artistic talents.
Cheers Bob
4 Likes
I see. I’d love to make Elon musk’s face. Thanks.
1 Like
Awesome !
Where’s the “add BoM to cart” button ?
1 Like
Thanks! For now you’ll have to add them separately - but if there’s enough interest we could put together a bundle to make things easier 
3 Likes
I wasn’t suggesting a new SKU, just a single button that adds all those parts to your cart with a single click. Then you could still delete individual items if you didn’t need to buy them.
2 Likes
I am running the sketcher-code.py script that you posted for this and I am getting the following in return:
Traceback (most recent call last):
  File "<stdin>", line 6, in <module>
  File "PiicoDev_Potentiometer.py", line 6, in <module>
  File "PiicoDev_Unified.py", line 1
SyntaxError: invalid syntax
I have tried the PiicoDev_Potentiometer.py file on the Potentiometer guide page as well as the this page. Same with the PiicoDev_Unified.py file. I noticed they are different file sizes. I had a similar message for the accelerometer that I fixed by doing the above.
Any help will be great. This is the first project, still feeling good about this.
Cheers
1 Like
Hey @Beau219629 - weird that you’re running into this issue.
I re-downloaded the source files and they seem to work fine - albeit I had to also download PiicoDev_LIS3DH.py separately (I forgot to include this in the original file upload. fixed now)
Are you working with a Raspberry Pi Pico?
Can you share a photograph of your setup?
It appears there is a syntax error in your copy of Unified. Have you modified this file at all?
1 Like
Hey! Awesome project. Will this exact code and setup by any chance work with the microbit v2?
1 Like
Hey @Ezra224017, welcome to the forums  I haven’t tested this project on a microbit. It’s possible, but won’t be as pleasing as on a Pico.
The framerate will be significantly slower. What’s more, the microbit as very little spare memory so we distribute “minified” versions of the device modules (PiicoDev_SSD1306.py, PiicoDev_Potentiometer.py) on each tutorial page. Even with the minified files the micro:bit usually only supports a couple of PiicoDev Modules. This project may overwhelm the microbit’s memory.
1 Like
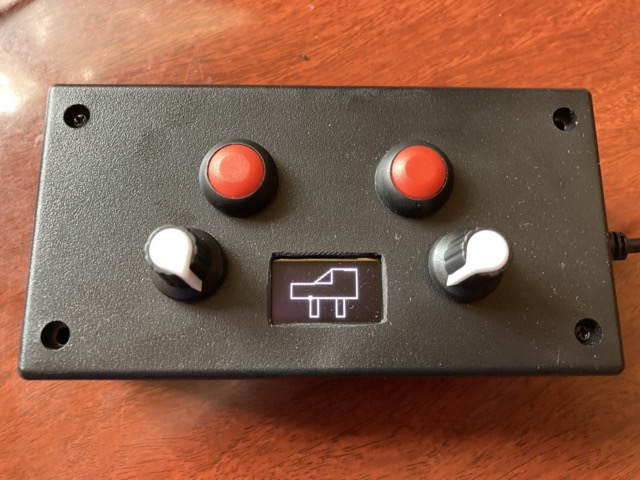
I made a version of this using a nano and the Arduino IDE! The problem was recording the points continuously meant I ran out of storage after about 100 points. So I added a button to record the current position to the array. Fun Challenge.
Here’s a picture with some fabulous art work. 

3 Likes
Nice remix @John136772 !
Yeah keeping a long list of points is problematic. For the PiicoDev Sketcher I just write points/lines to the screen and never clear it. So the code only needs to know the last point and the current point. The rest of the drawing just persists on the screen 
4 Likes
Of course…
I’m so used to changing things on the screen as opposed to a cumulative effect of adding lines/points.
5 Likes
So then I thought because I have stored the points I can erase them.
So now the left button erases the last line by decreasing the point index by one.
Here’s the code in case anyone wants to have a go themselves…
/**************************************************************************

  Nano Sketcher (Etch a Sketch) by John Wegner

  Monochrome OLEDs based on SSD1306 drivers

  Simple version with button to record change.

  Move pots to alter x and y position and press right button to record a point
  Lines are drawn between points
  Left button erases the last line

 **************************************************************************/

#include <SPI.h>
#include <Wire.h>
#include <Adafruit_GFX.h>
#include <Adafruit_SSD1306.h>
#include <Button.h>

#define SCREEN_WIDTH 128 // OLED display width, in pixels
#define SCREEN_HEIGHT 64 // OLED display height, in pixels

// Declaration for an SSD1306 display connected to I2C (SDA, SCL pins)
// The pins for I2C are defined by the Wire-library.
// On an arduino UNO:       A4(SDA), A5(SCL)
#define OLED_RESET     -1 // Reset pin # (or -1 if sharing Arduino reset pin)
#define SCREEN_ADDRESS 0x3C //Check this - might be 0x3D
Adafruit_SSD1306 display(SCREEN_WIDTH, SCREEN_HEIGHT, &Wire, OLED_RESET);

/*
   Variables
*/

#define PositionGridSize 100
int positionIndex = 0;
byte xPosition[PositionGridSize];
byte yPosition[PositionGridSize];

byte potX, potY;

Button buttonErasor(4);
Button buttonPlot(9);

void setup() {
  Serial.begin(9600);
  // SSD1306_SWITCHCAPVCC = generate display voltage from 3.3V internally
  if (!display.begin(SSD1306_SWITCHCAPVCC, SCREEN_ADDRESS)) {
    Serial.println(F("SSD1306 allocation failed"));
    for (;;); // Don't proceed, loop forever
  }
  buttonErasor.begin();
  buttonPlot.begin();
}

void loop() {
  checkPots();
  checkButtons();
  display.clearDisplay();
  showCursor();
  showLines();
  display.display();
  delay(50);
}

void checkButtons() {
  if (buttonErasor.pressed()) {
    positionIndex--;
    if (positionIndex < 0) positionIndex = 0;
  }
  if (buttonPlot.pressed()) {
    positionIndex++;
    if (positionIndex > PositionGridSize - 1) positionIndex = PositionGridSize - 1;
    xPosition[positionIndex] = potX;
    yPosition[positionIndex] = potY;
  }
}

void checkPots() {
  potX = map(analogRead(A2), 0, 1023, 0, 127);
  potY = map(analogRead(A0), 0, 1023, 0, 63);
}

void showCursor() {
  display.fillCircle(potX, potY, 2, SSD1306_WHITE);
}

void showLines() {
  for (int i = 2; i <= positionIndex; i++) {
    display.drawLine(xPosition[i - 1], yPosition[i - 1], xPosition[i], yPosition[i], SSD1306_WHITE);
  }
}
4 Likes
Yes! the advantage of your approach is that you can clear the screen systematically if you like. Similar to a ctrl+z undo tool. Or from the earliest drawn line like your method. It’s a pretty cool feature 
In my version of the project where I do not know the lines that make up the drawing, I can’t do this. I clear the screen by sprinkling black dots at random until the screen is eventually cleared - that’s all an attempt to simulate shaking an Etch-a-Sketch and having your drawing disappear gradually.
4 Likes
I like your idea of the random points. Very cool!
3 Likes


